
Configure Azure Communication Services for Sending Emails with SMTP and Basic Authentication
SMTP is still a standard way for applications and systems to send automated notifications, alerts, and transactional messages. Azure Communication Services (ACS) exposes an SMTP endpoint that supports both OAuth2.0 and Basic Authentication, so existing applications can send mail with little to no code change.
This approach removes the dependency on on-premises Exchange for application email, and cleanly separates application SMTP traffic from user mailboxes hosted in Microsoft 365. This guide configures it for the domain cloudaigit.com
1. Create an Email Communication Service
In the Azure portal, create an Email Communication Service. Define the name, subscription, resource group, and region.
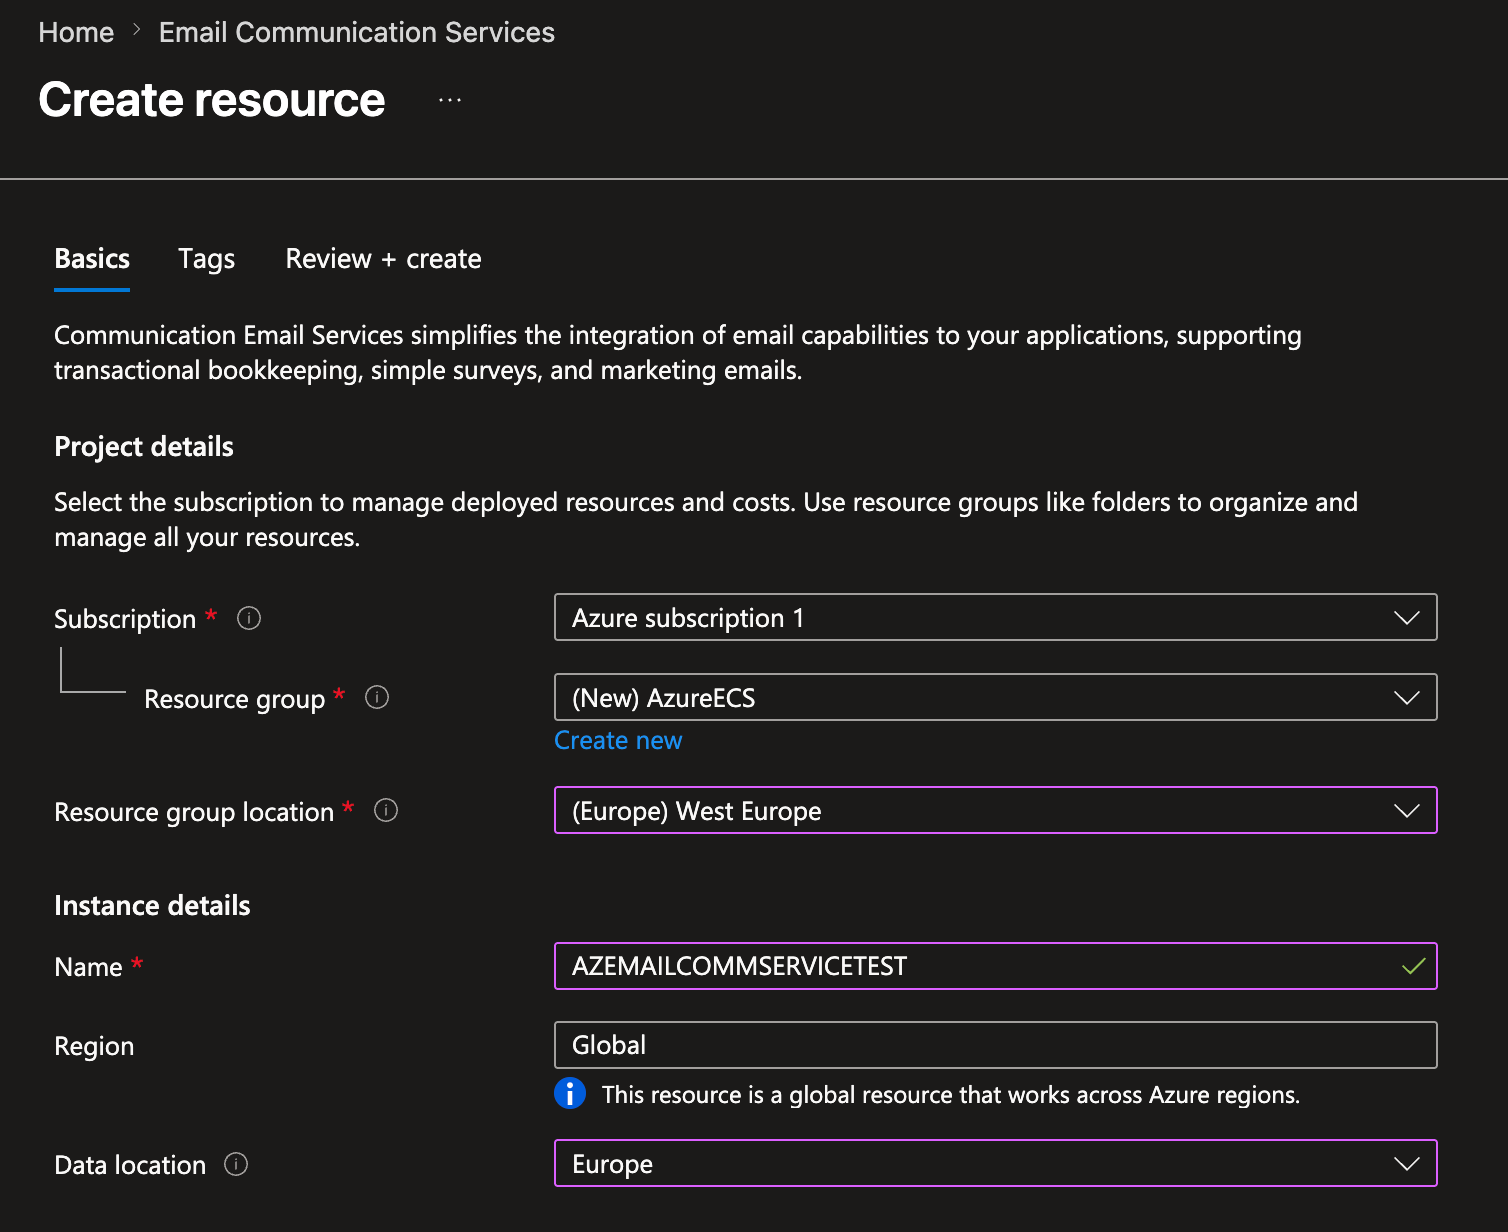
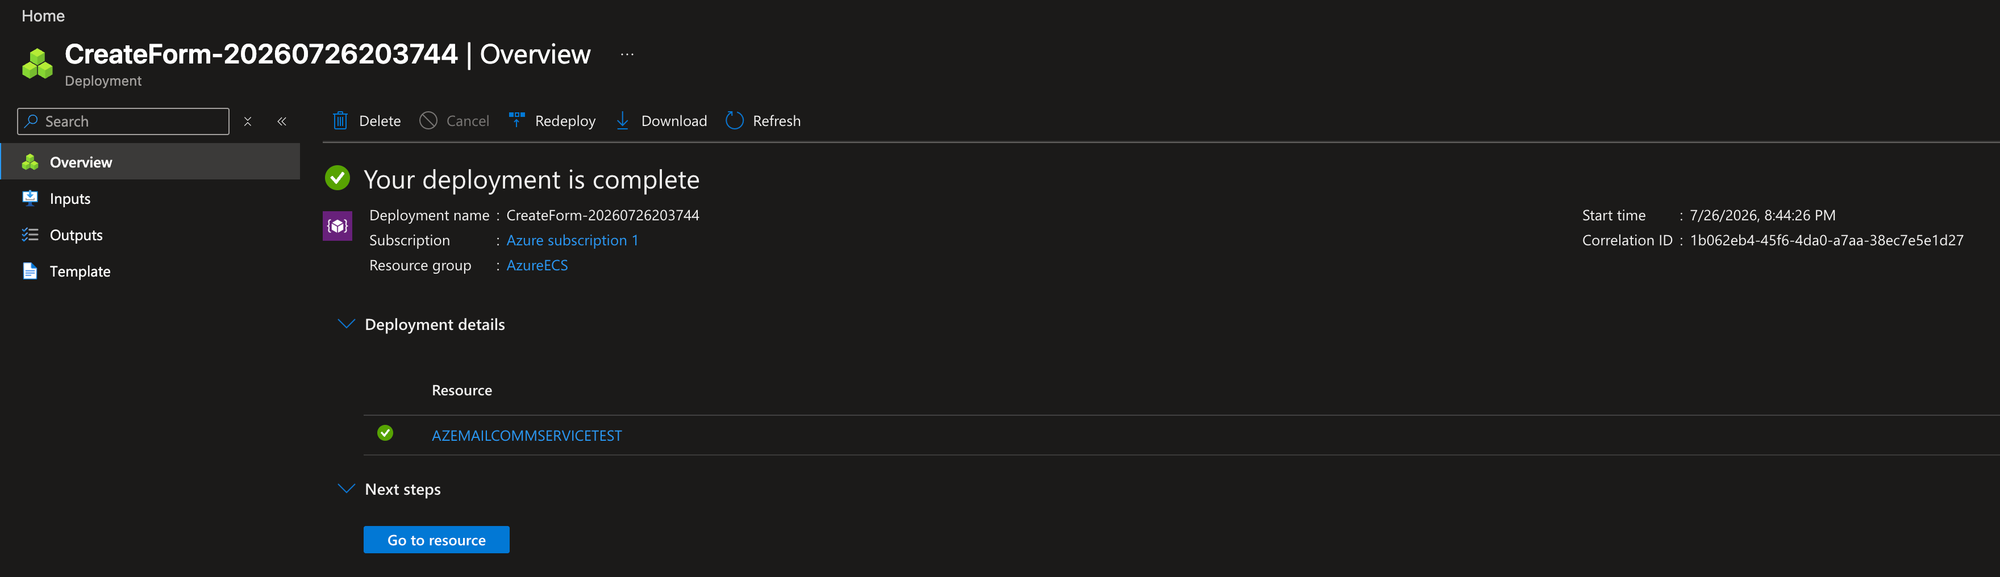
2. Add Custom Domain
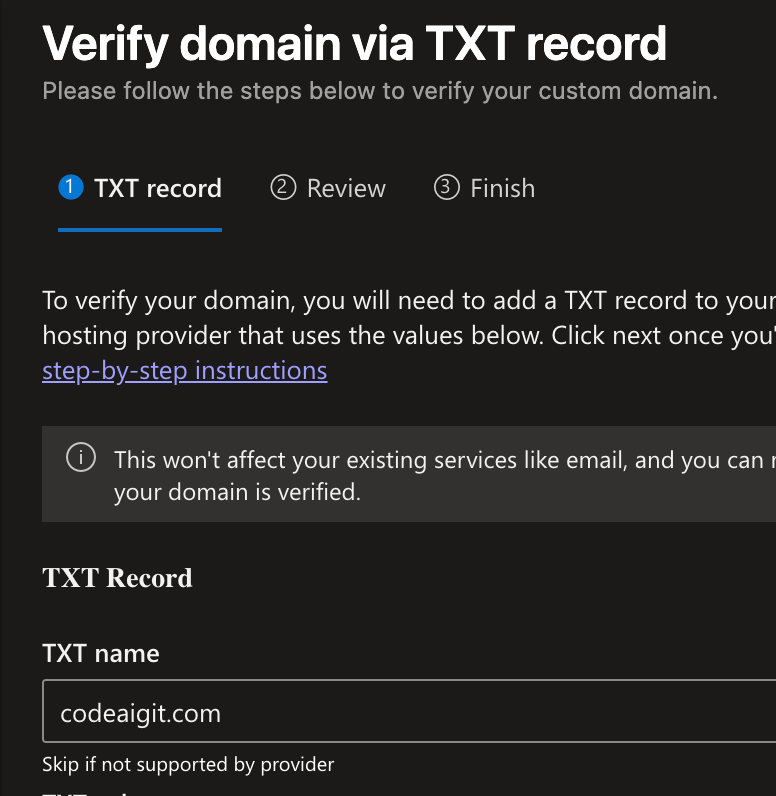
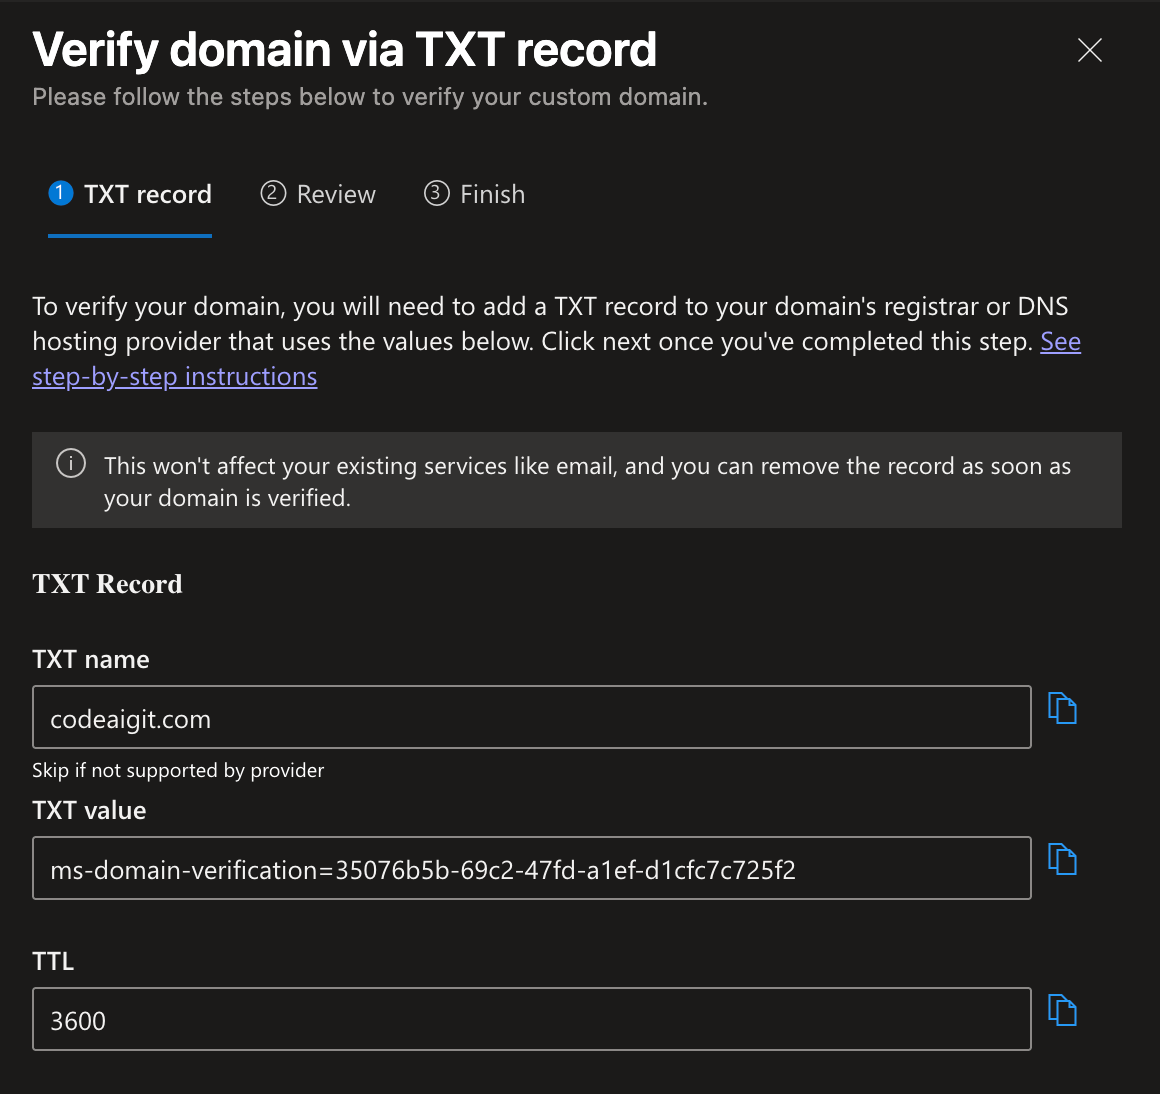
Add your email domain codeaigit.com to this resource. Verify ownership with the provided TXT DNS record, the same way you would when adding a domain to a Microsoft 365 tenant.
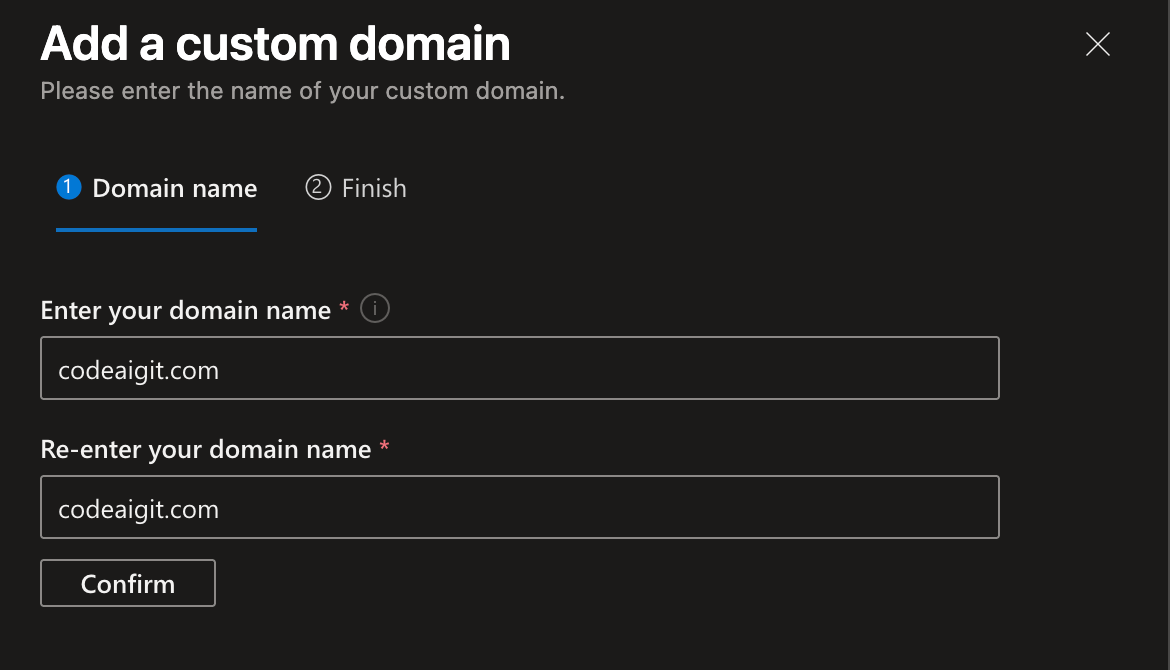
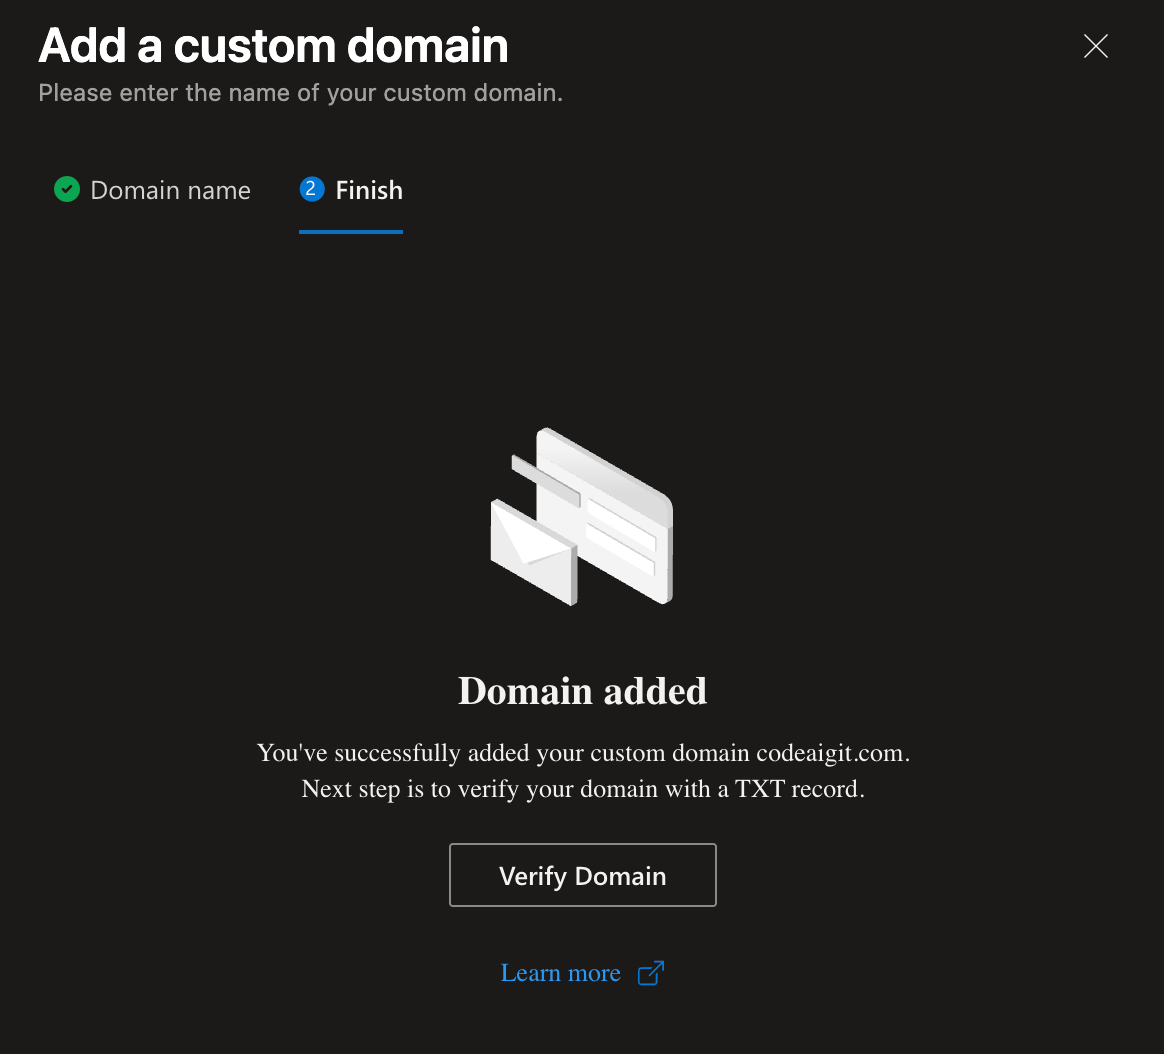
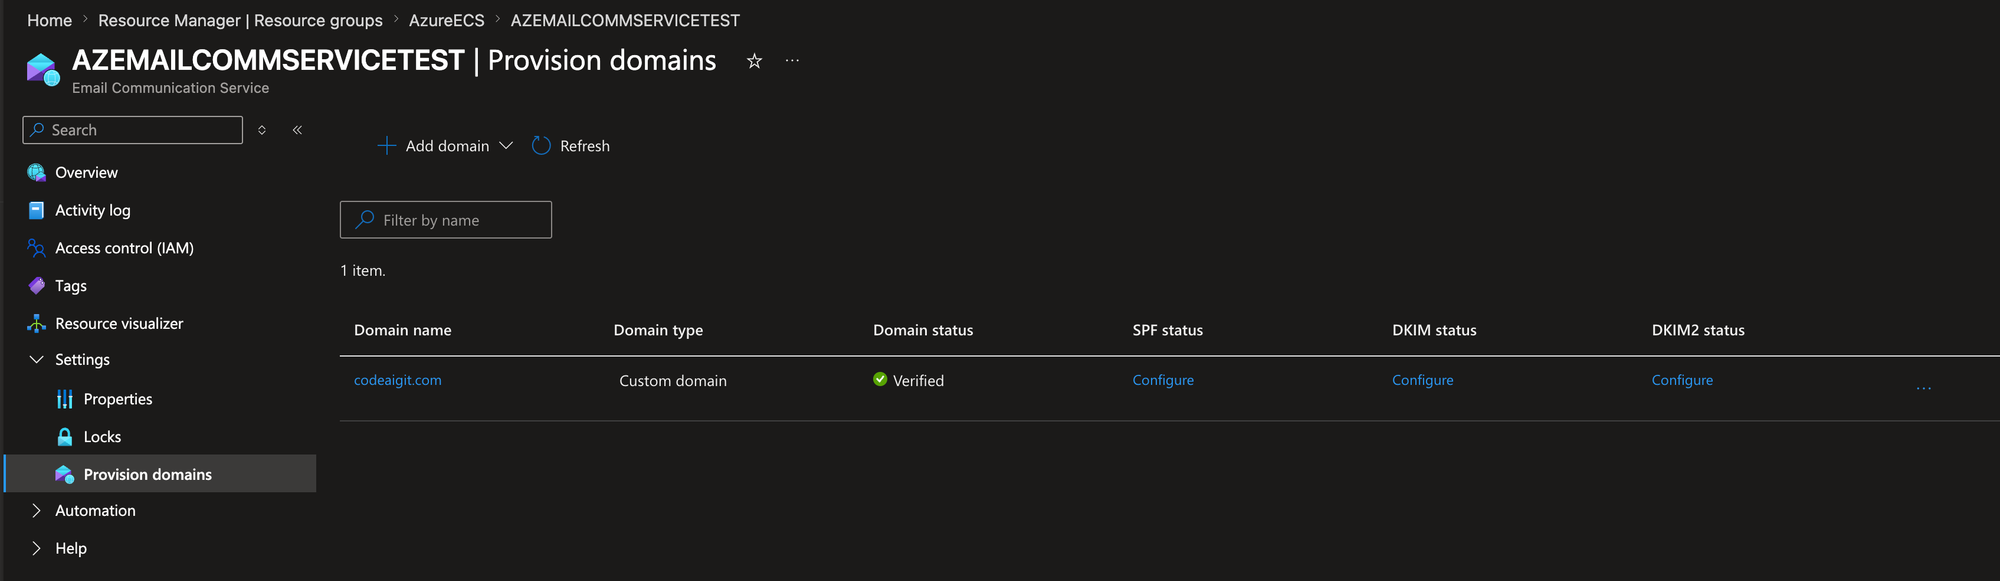
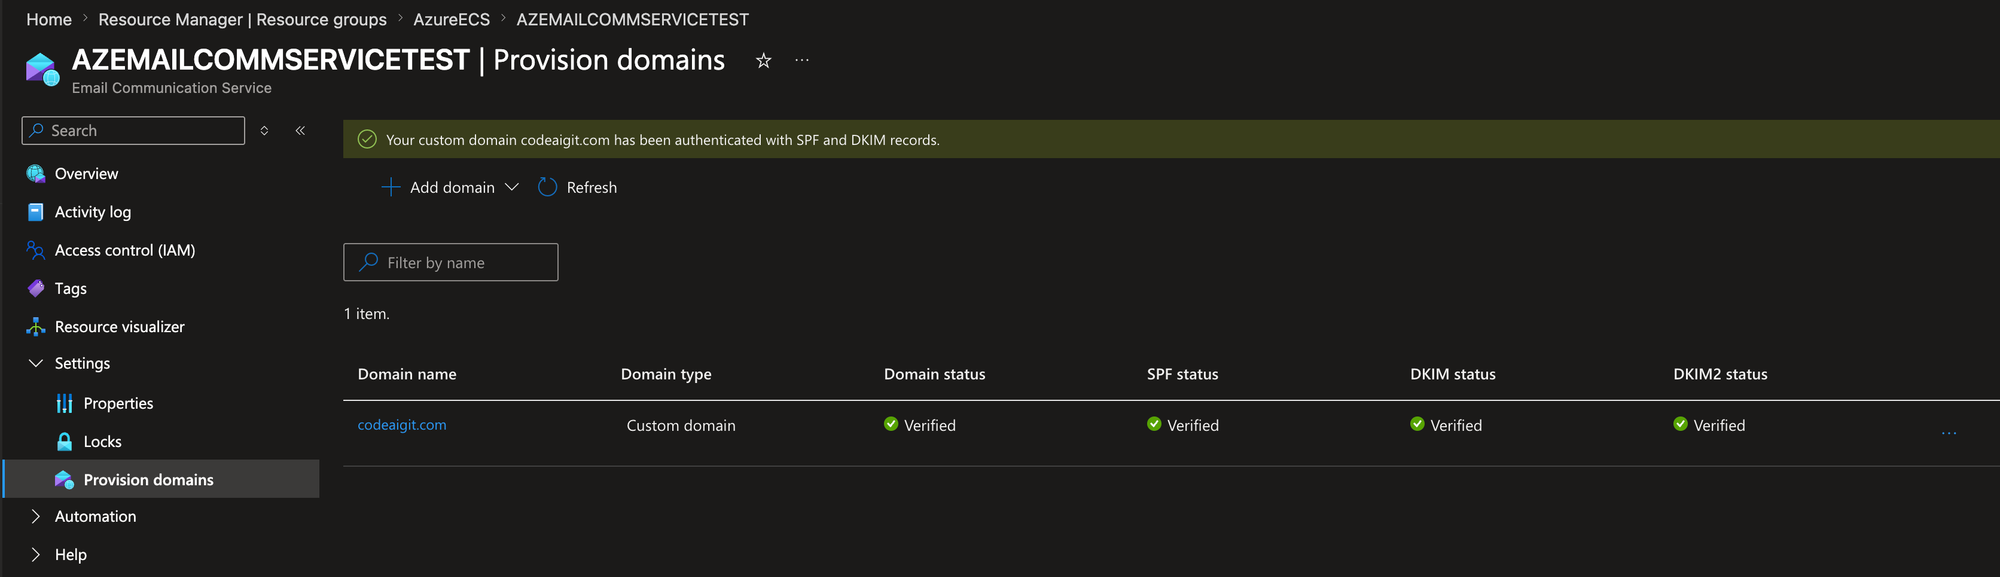
Once the domain is declared, configure SPF and DKIM. Since codeaigit.com already exists in your Microsoft 365 tenant, simply add an additional DKIM record with new selectors so it coexists with your existing setup.
3. Create a Communication Service
Create a Communication Service and connect it to the domain defined in the Email Communication Service.
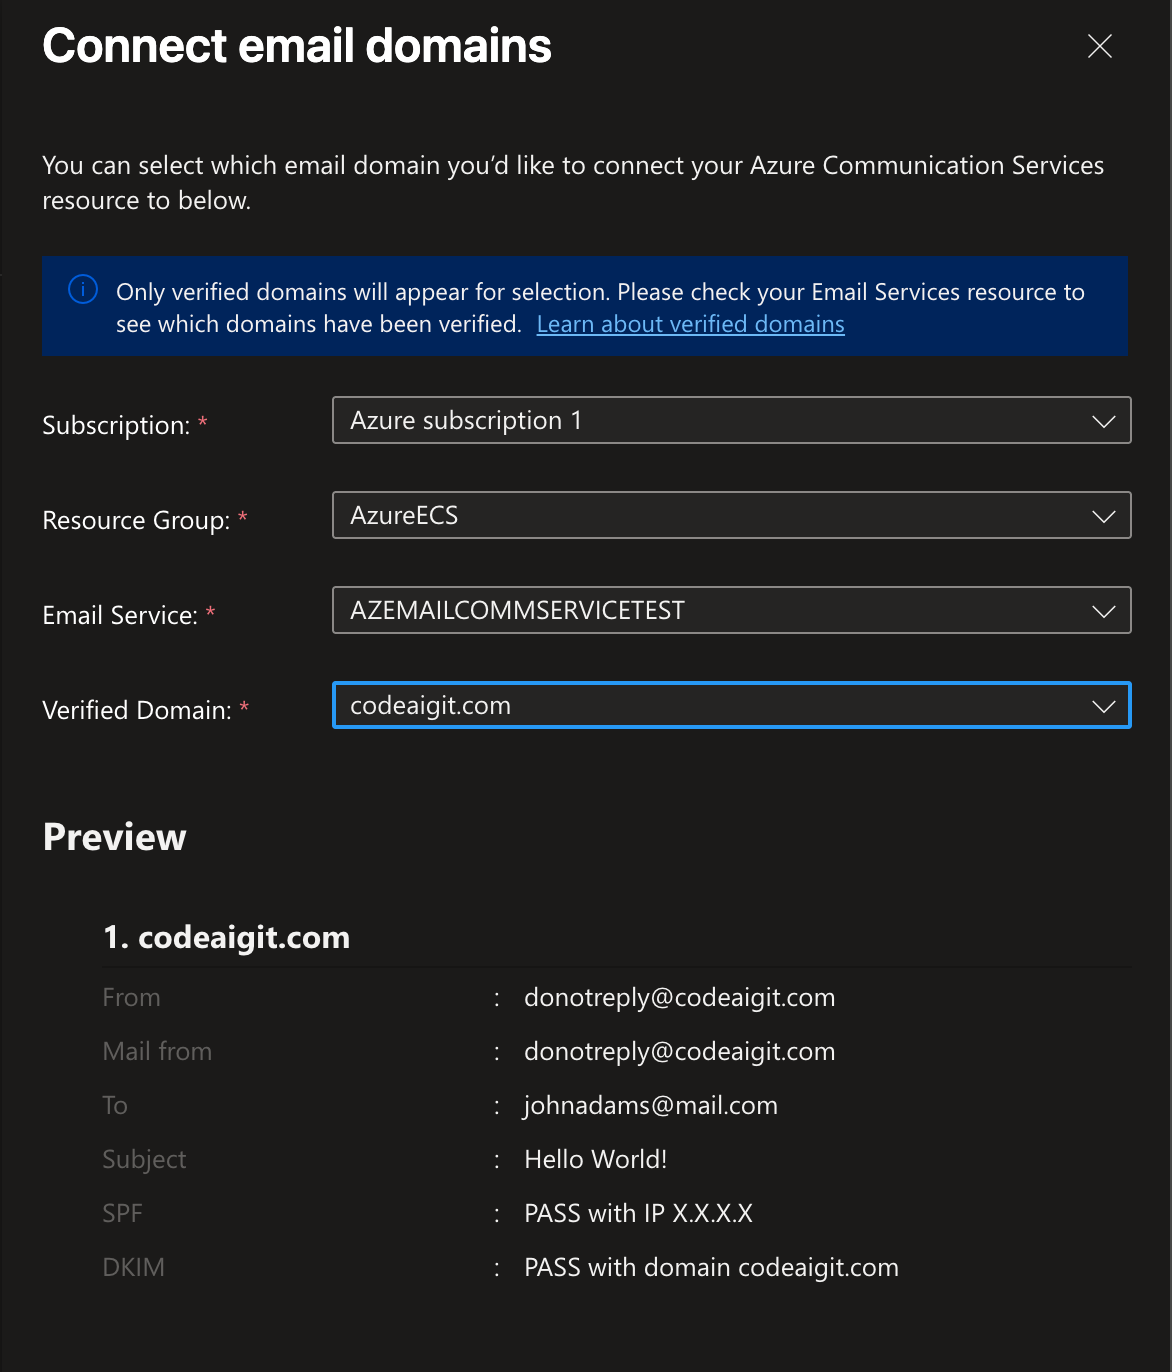
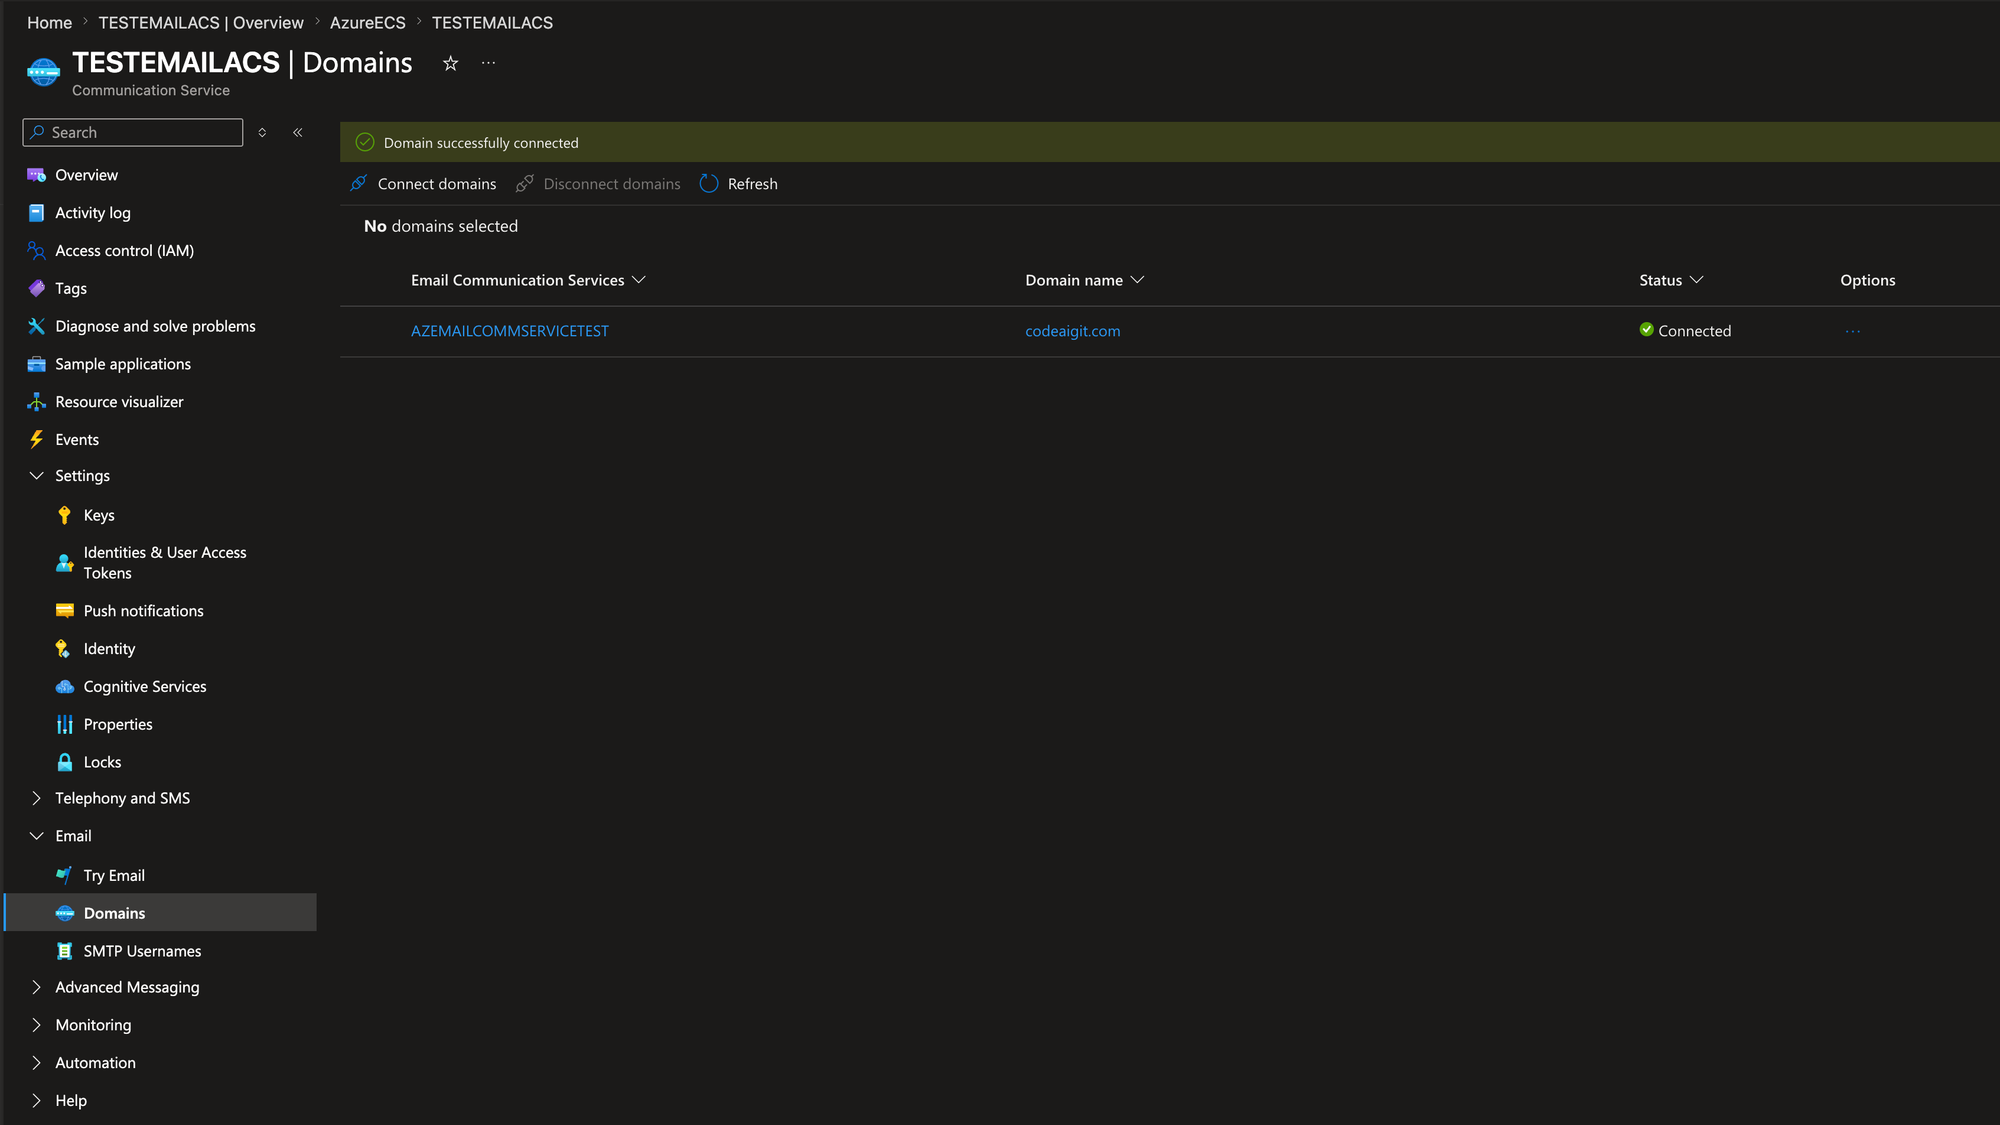
Note: At this step you can use donotreply@codeaigit.com as your first available sender address, keeping the "From" and "Mail From" values identical.
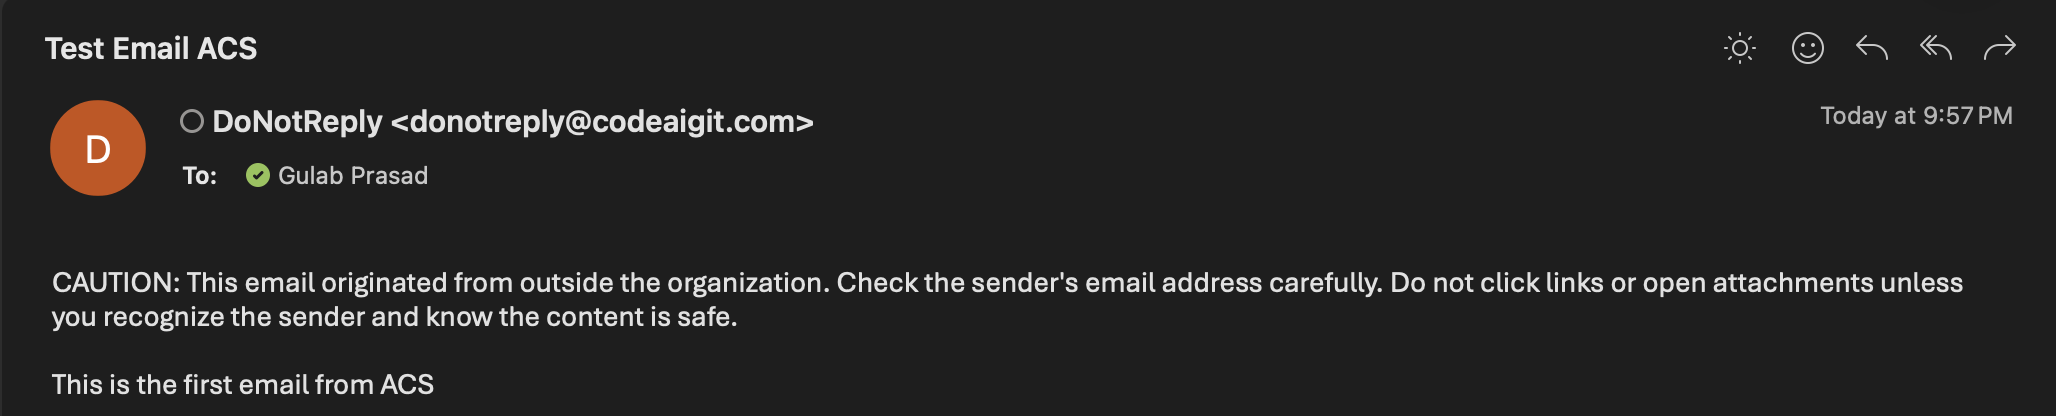
4. Test Sending with OAuth2.0
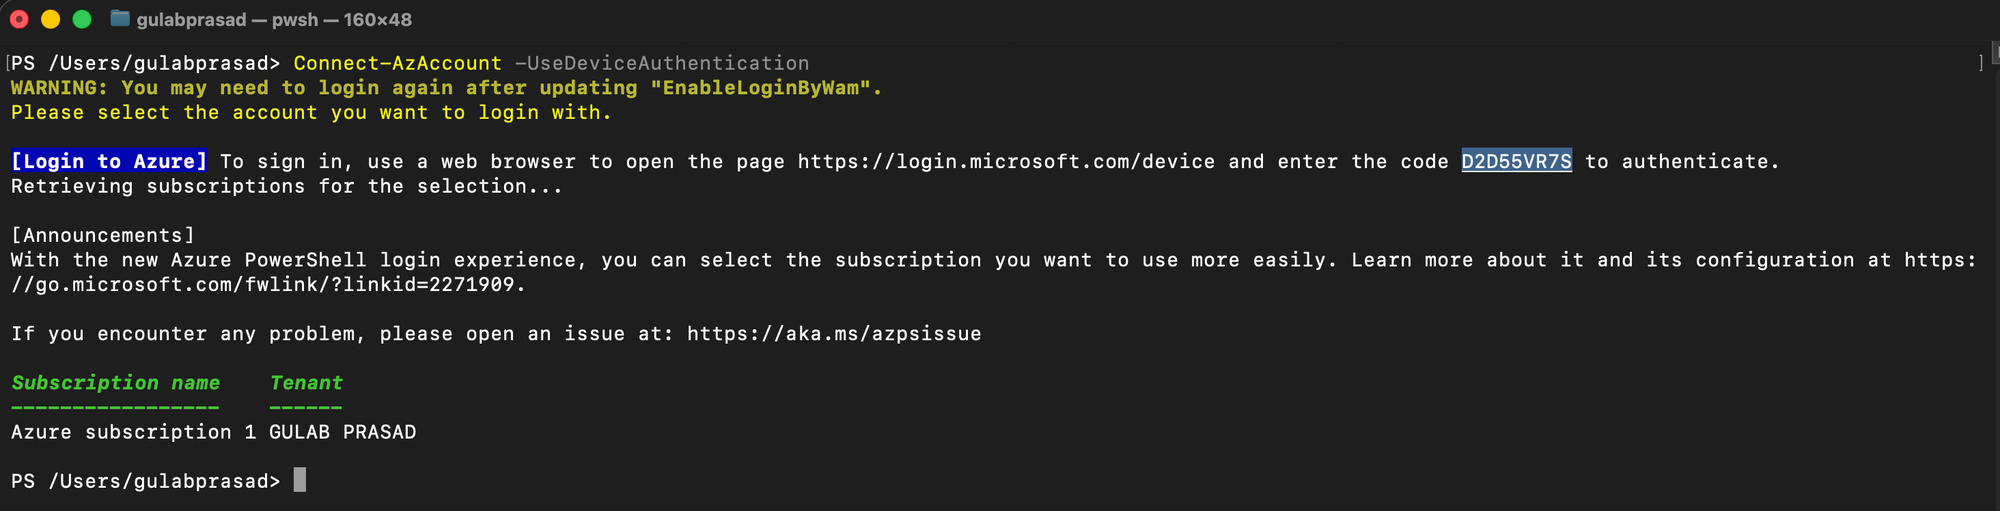
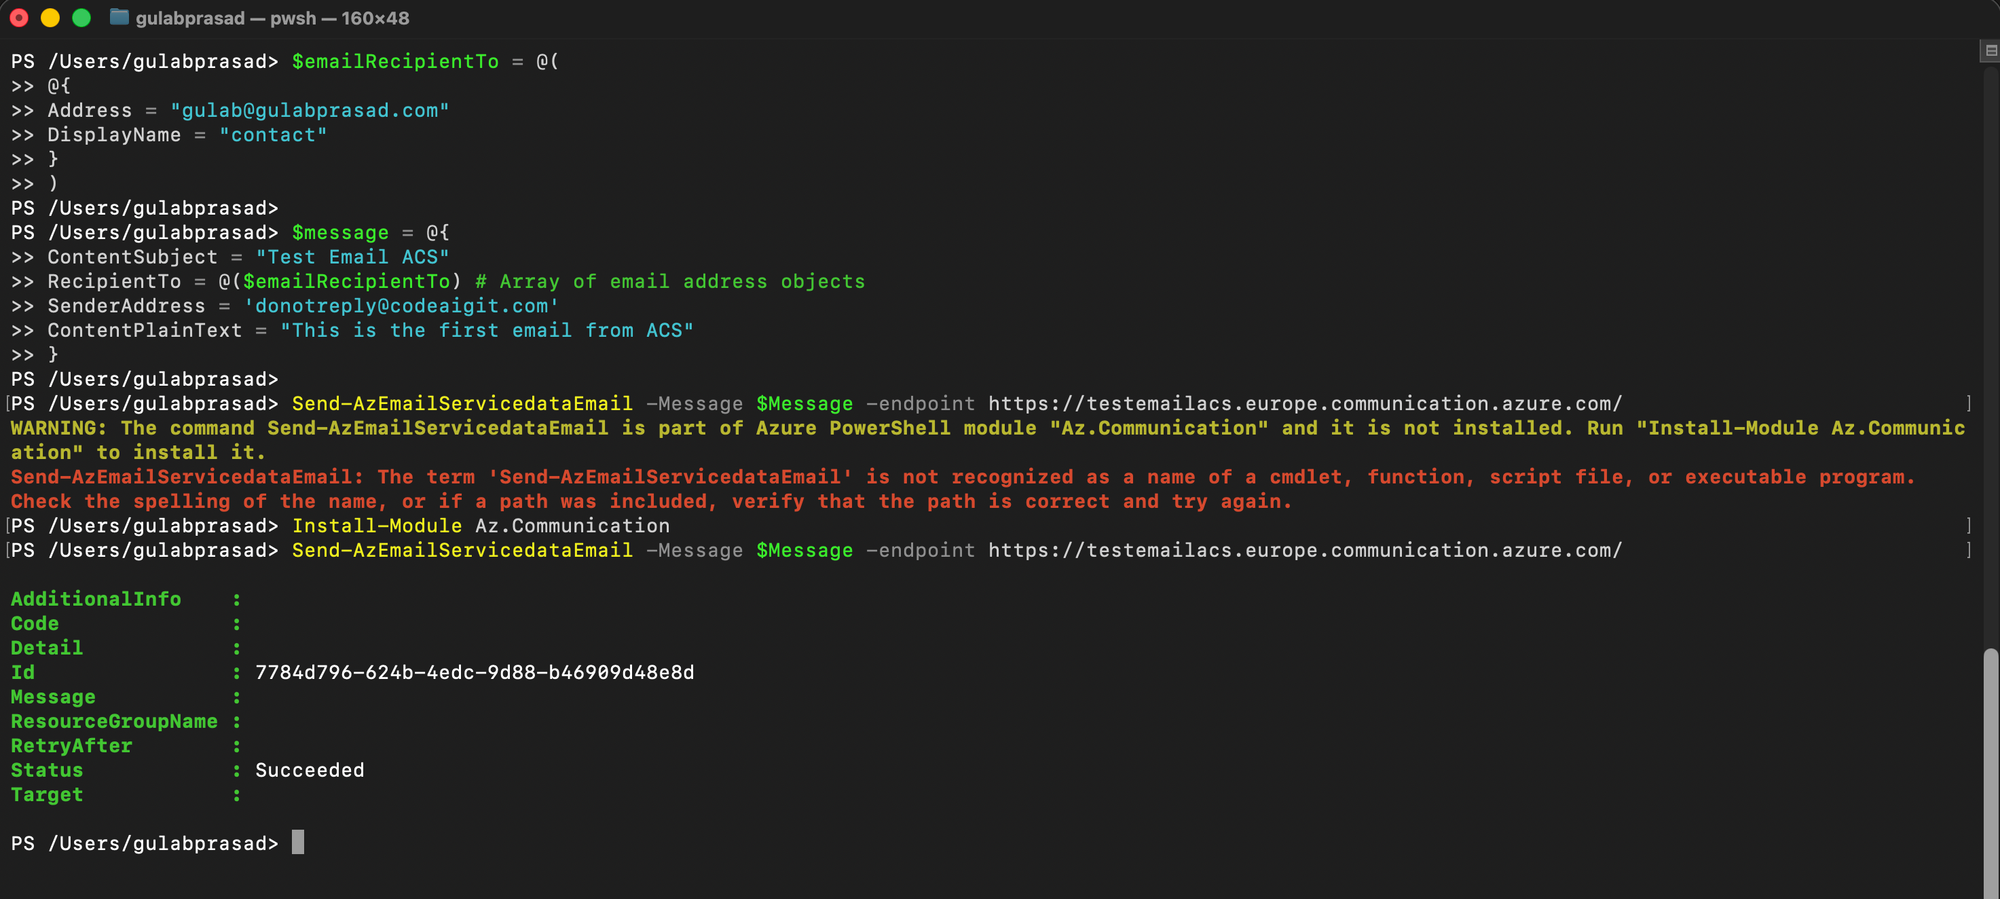
Before touching SMTP, test that email works using the OAuth2.0-secured APIs. Use the built-in graphical test tool on the Communication Service, or run a PowerShell test with the Az module (find the endpoint in the Overview section):
Connect-AzAccount

$emailRecipientTo = @(
    @{
        Address     = "gulab@gulabprasad.com"
        DisplayName = "Recipient"
    }
)

$message = @{
    ContentSubject   = "Test Email ACS"
    RecipientTo      = @($emailRecipientTo)
    SenderAddress    = 'donotreply@codeaigit.com'
    ContentPlainText = "This is the first email from ACS"
}

Send-AzEmailServicedataEmail -Message $message -Endpoint <your_endpoint_communication_service>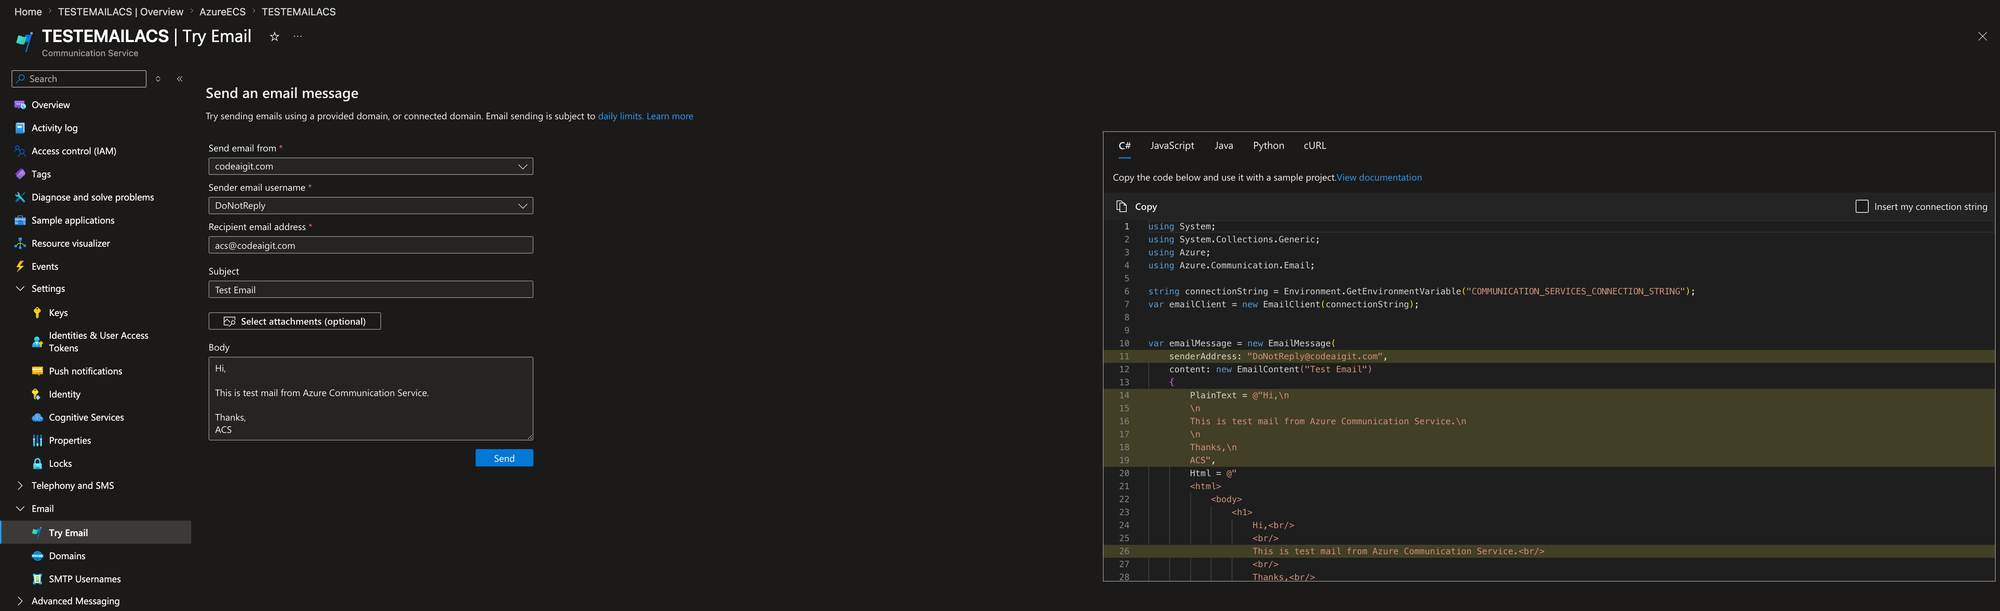
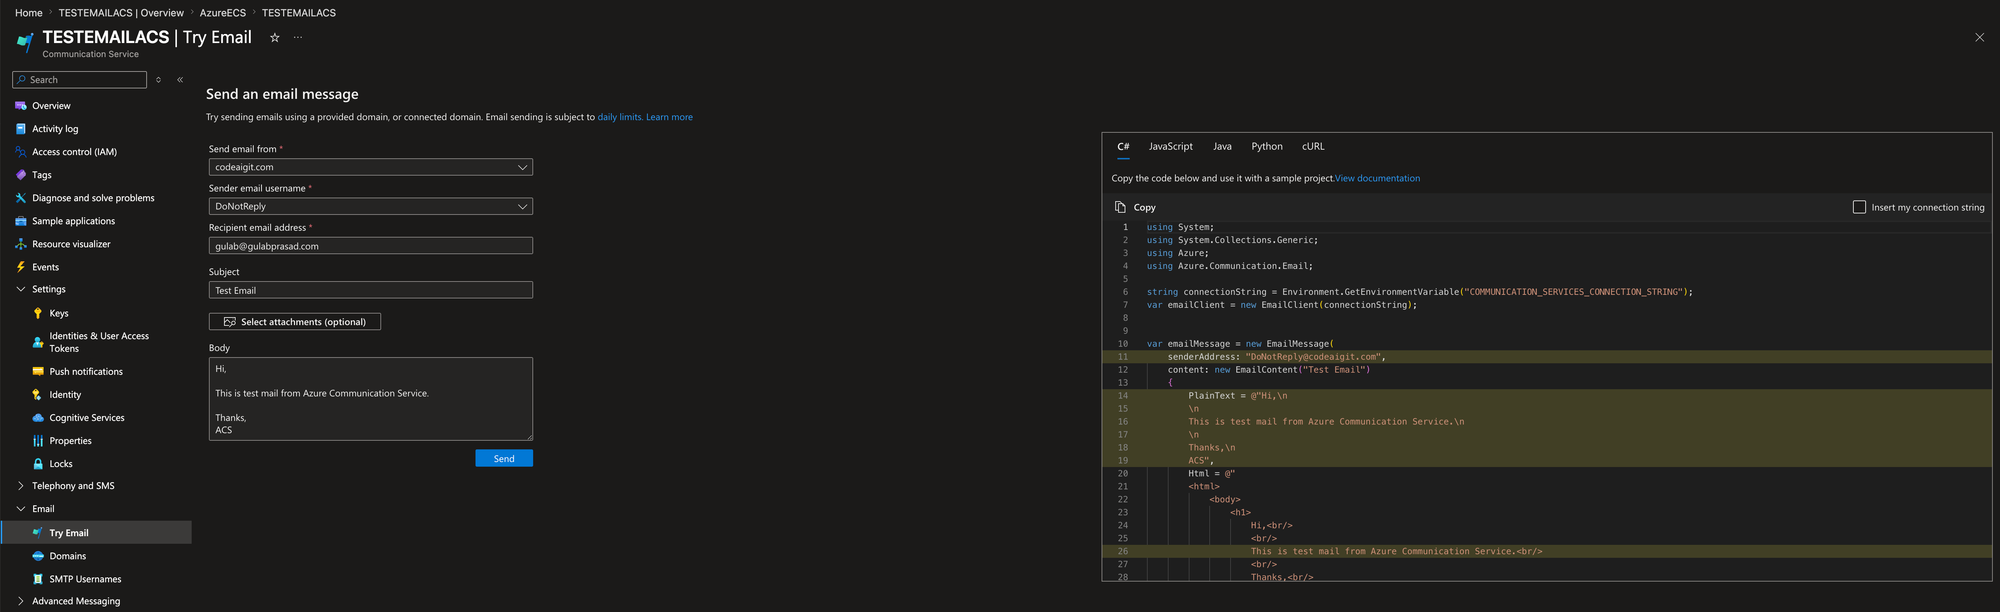
5. Increase Domain Limits and Create Other Sender Addresses
By default you can only send from the single donotreply address, under limited quotas. To add more sender addresses or raise volume, open an Azure Support request:
- Issue type: Service and subscription limits (quotas) — this request is free
- Quota type: Azure Communication Services Email Sending Limits
After Microsoft approves the request, you'll have higher quotas and can create additional "Mail From" addresses on cloudaigit.com
6. Create App Registration with a Secret
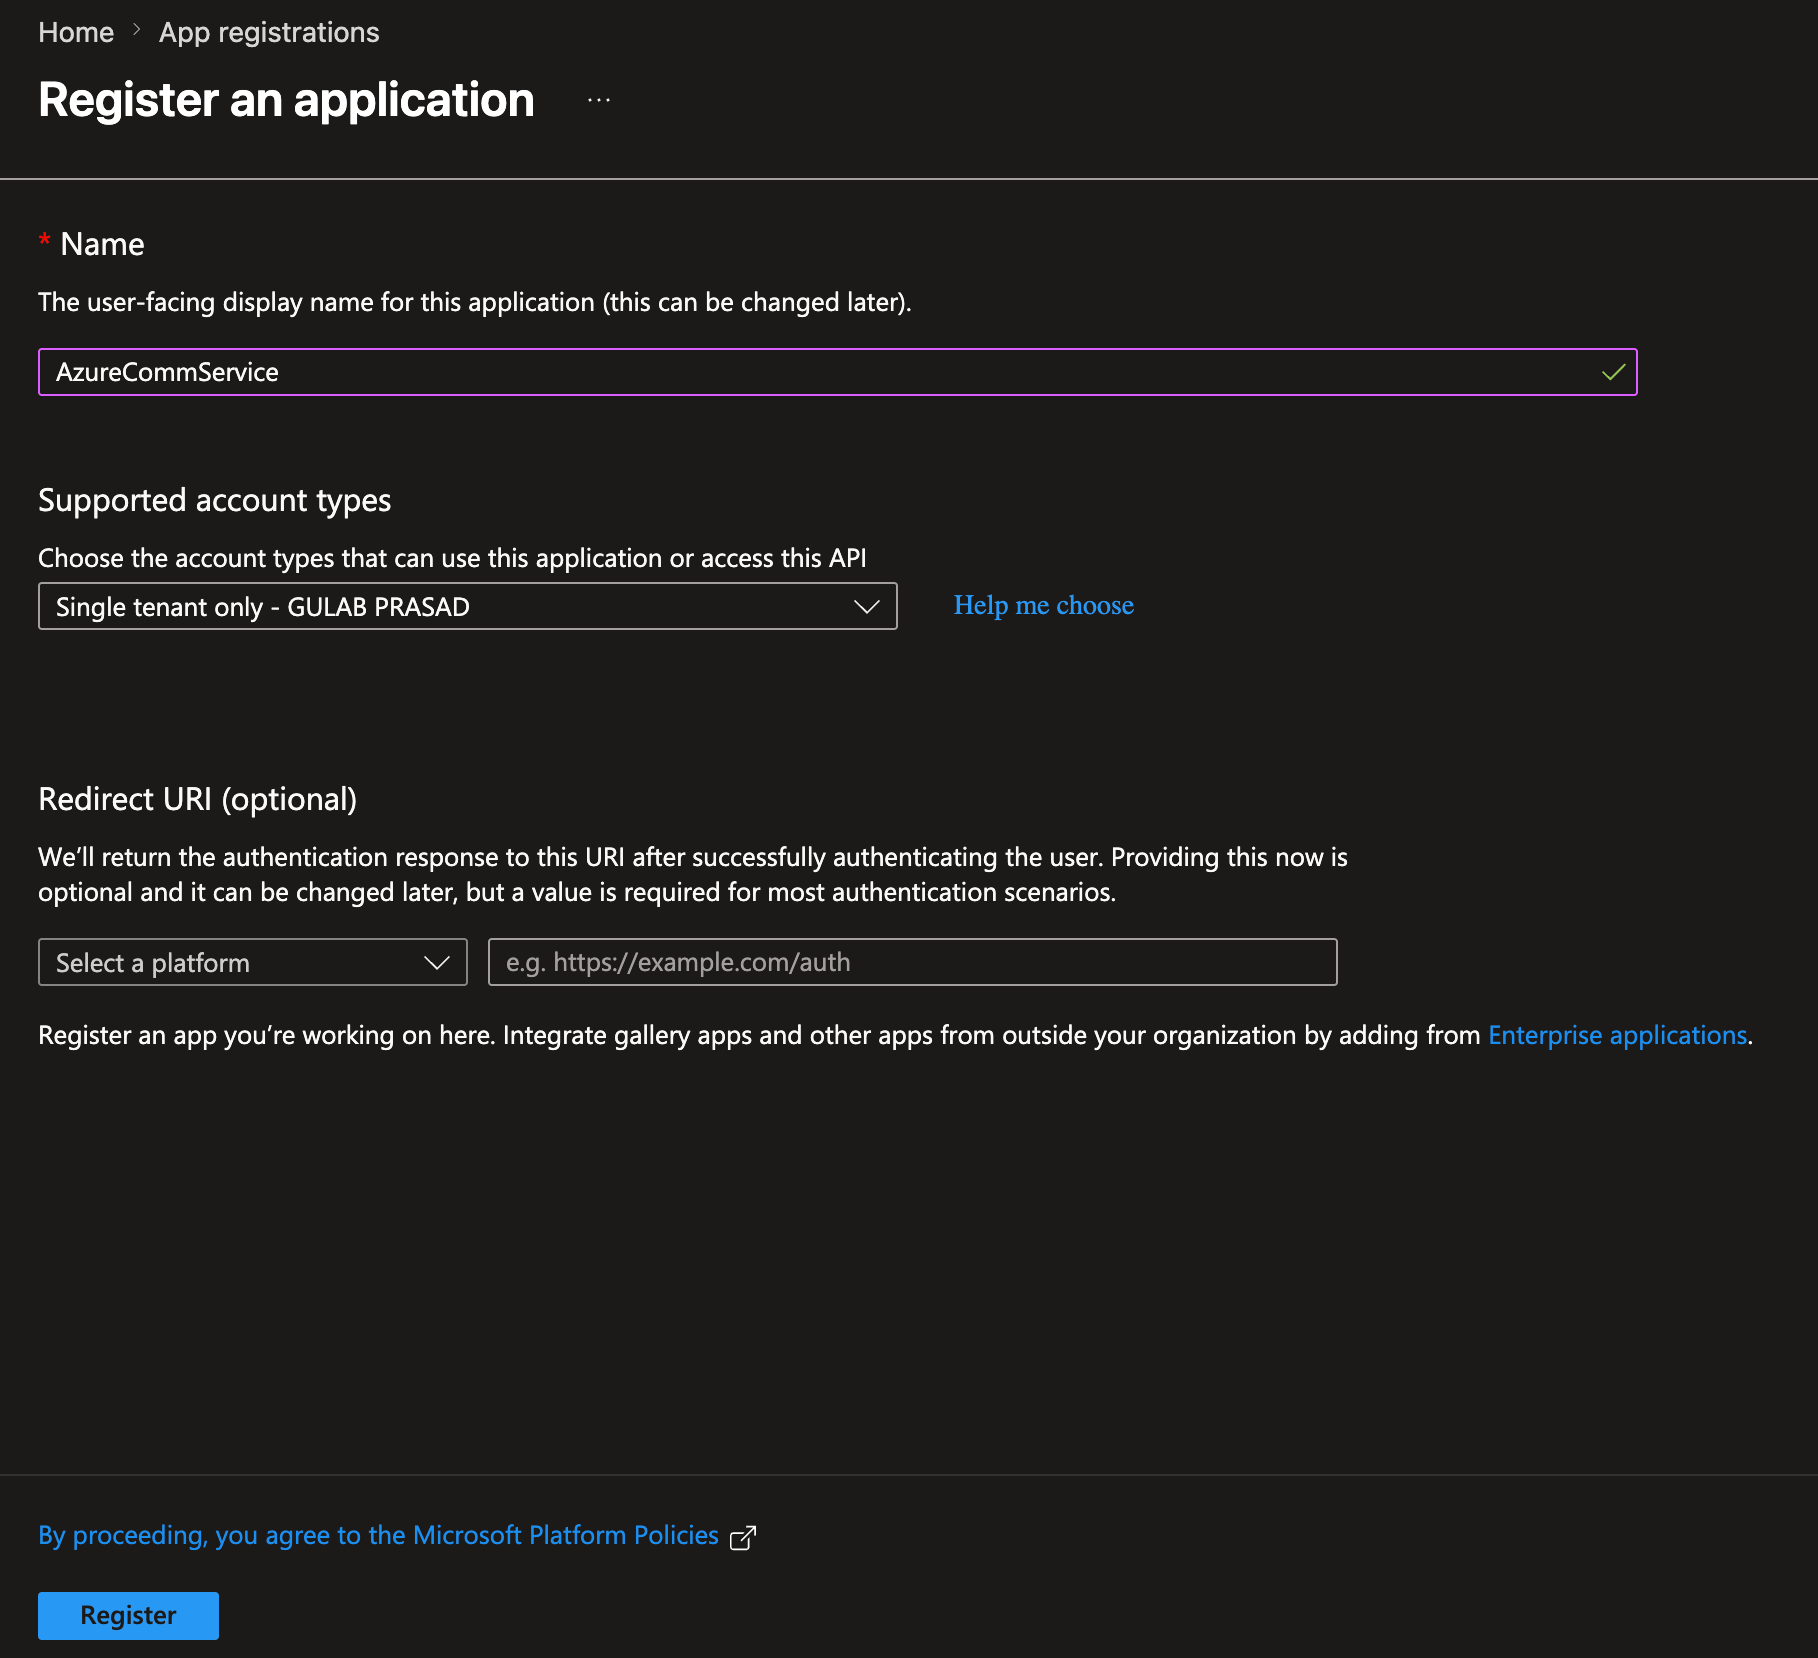
To use SMTP with Basic Authentication, register an application whose secret acts as the SMTP password.
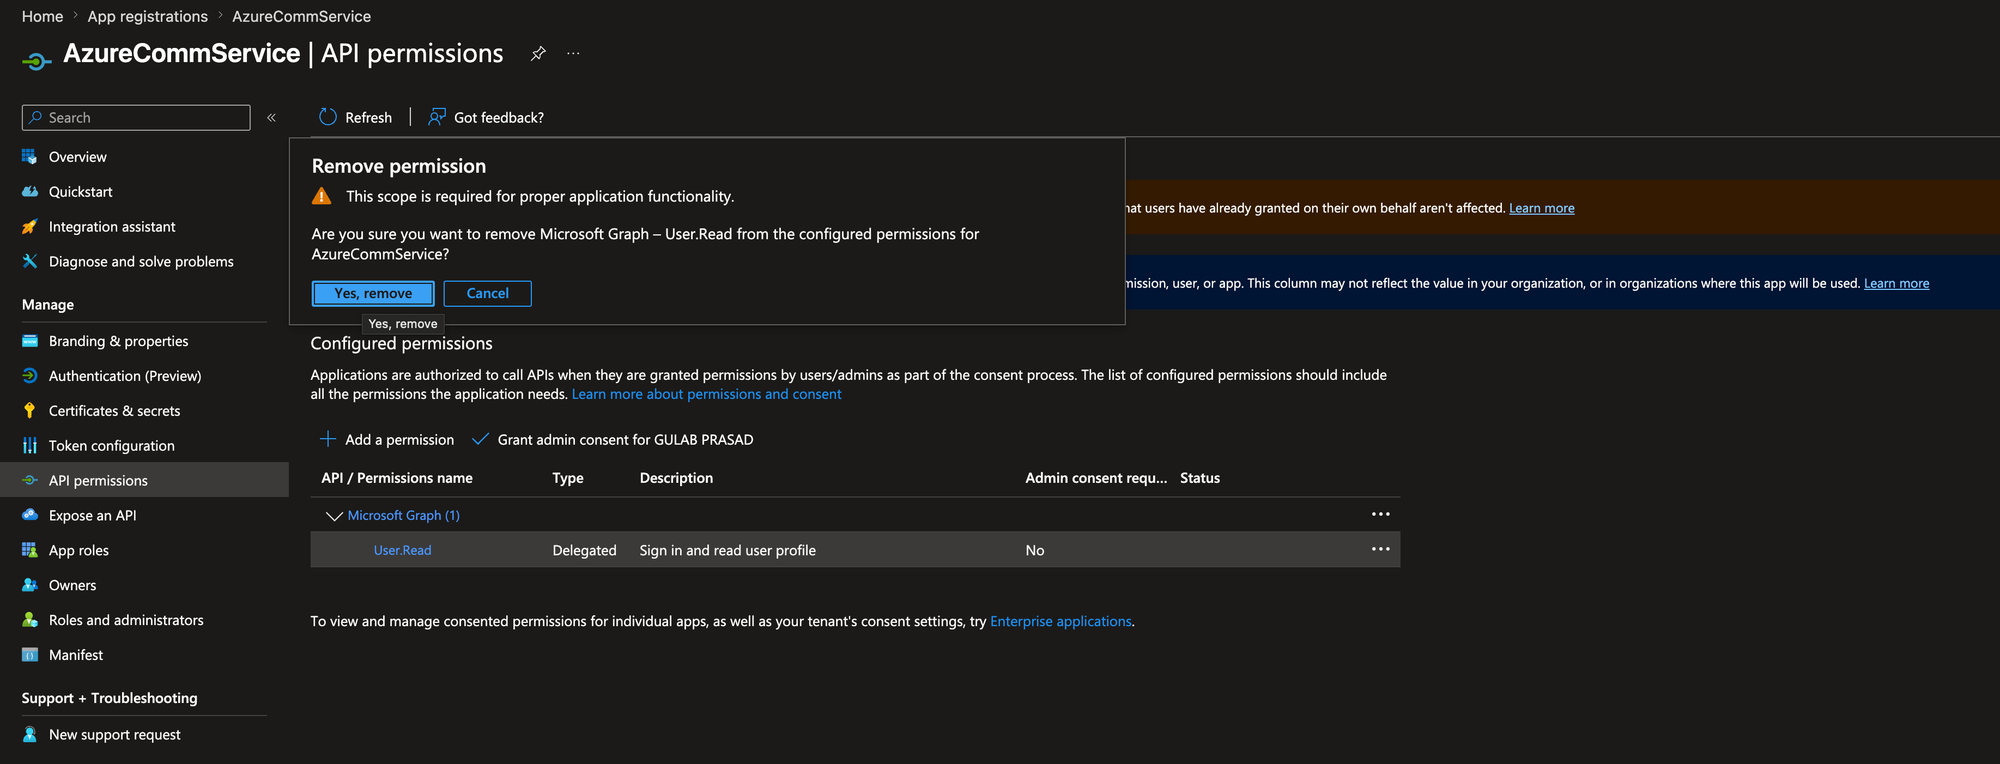
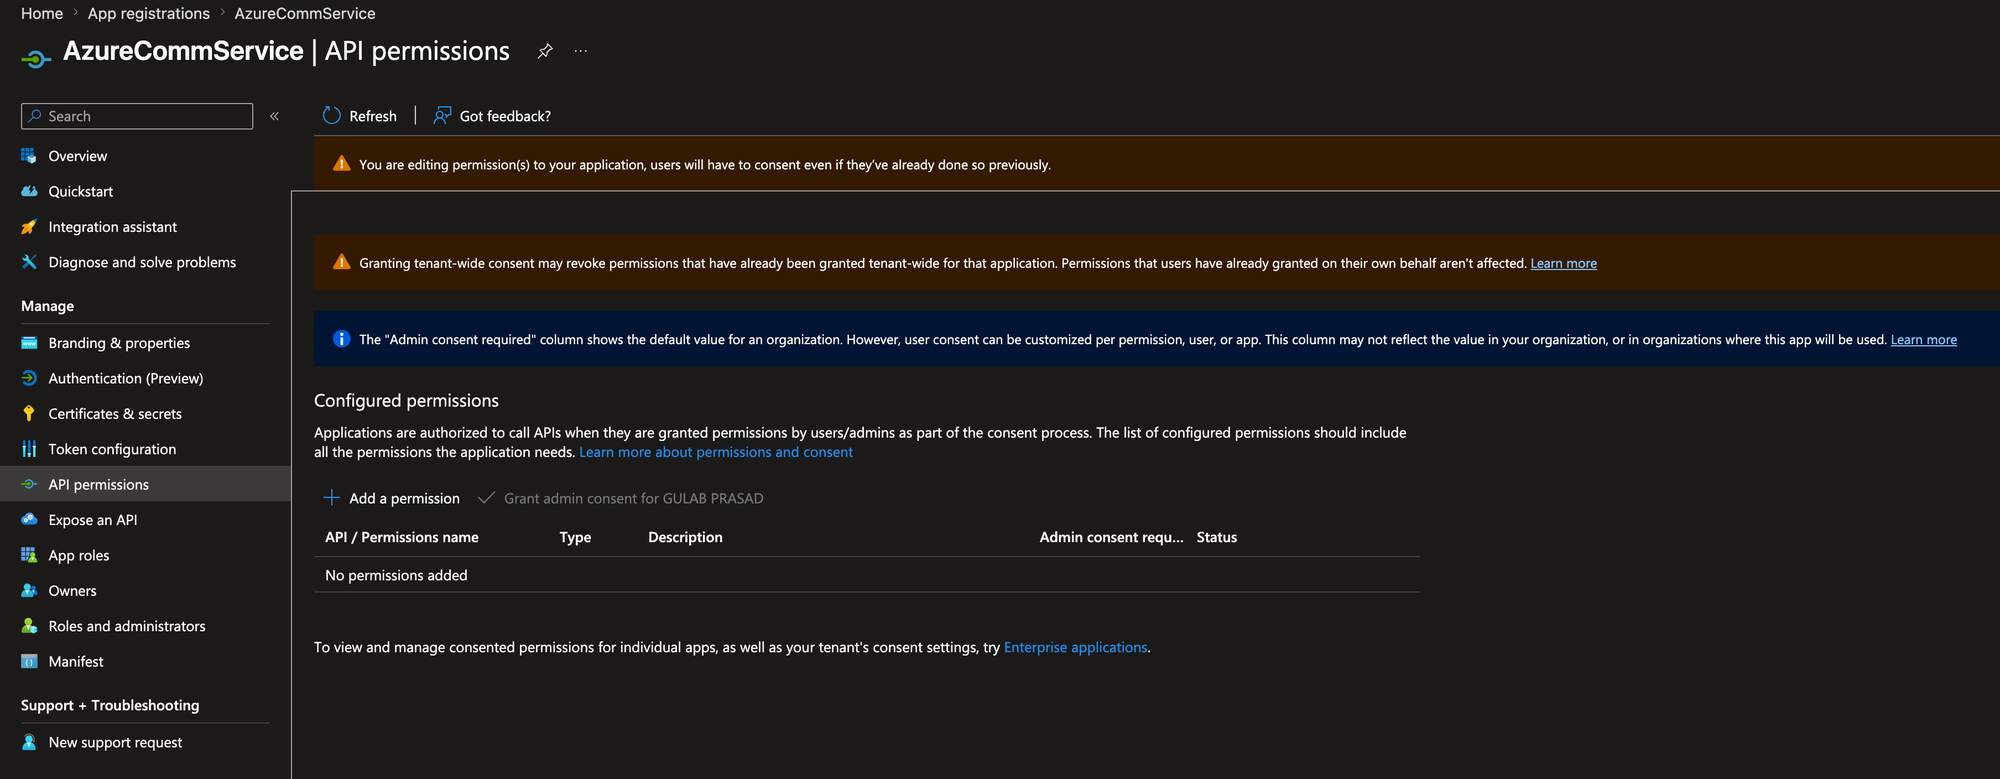
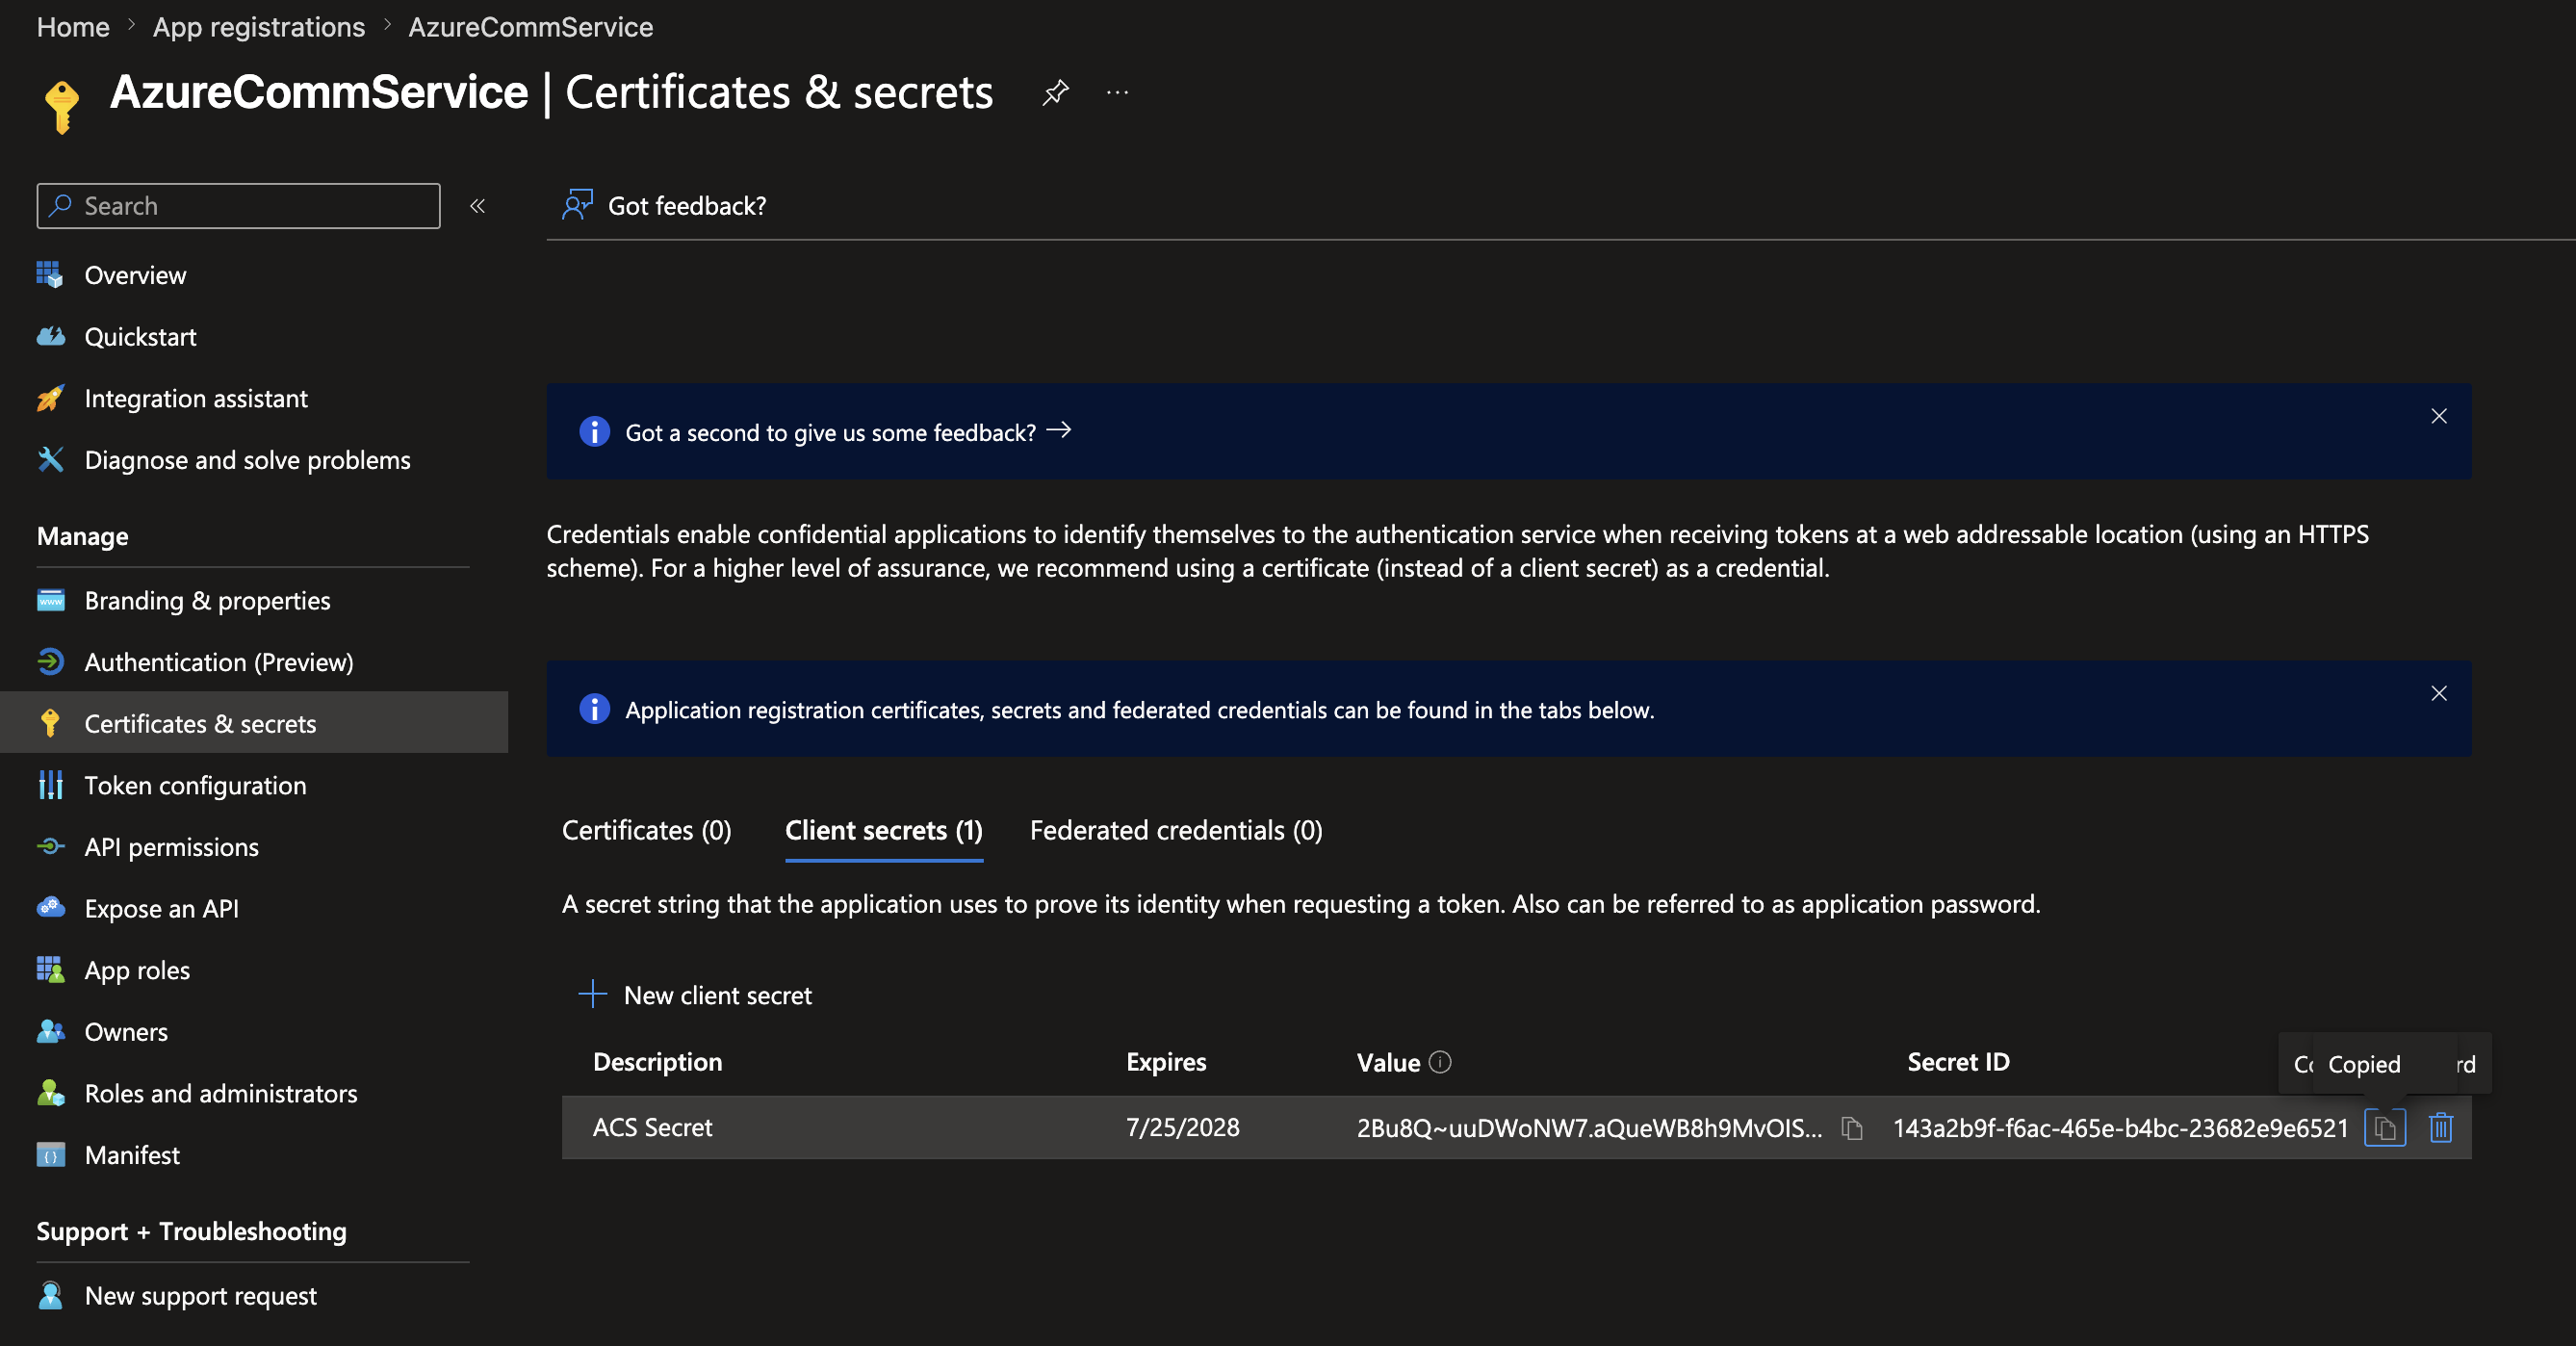
Register a new single-tenant application on tenant, with no API permissions (remove the default permission that's added automatically). Then create a client secret and copy its value.
7. Associate the App with an ACS User
Return to Azure and grant the application the required permissions on the Communication Service. Assign the role "Communication and Email Service Owner" to the app.
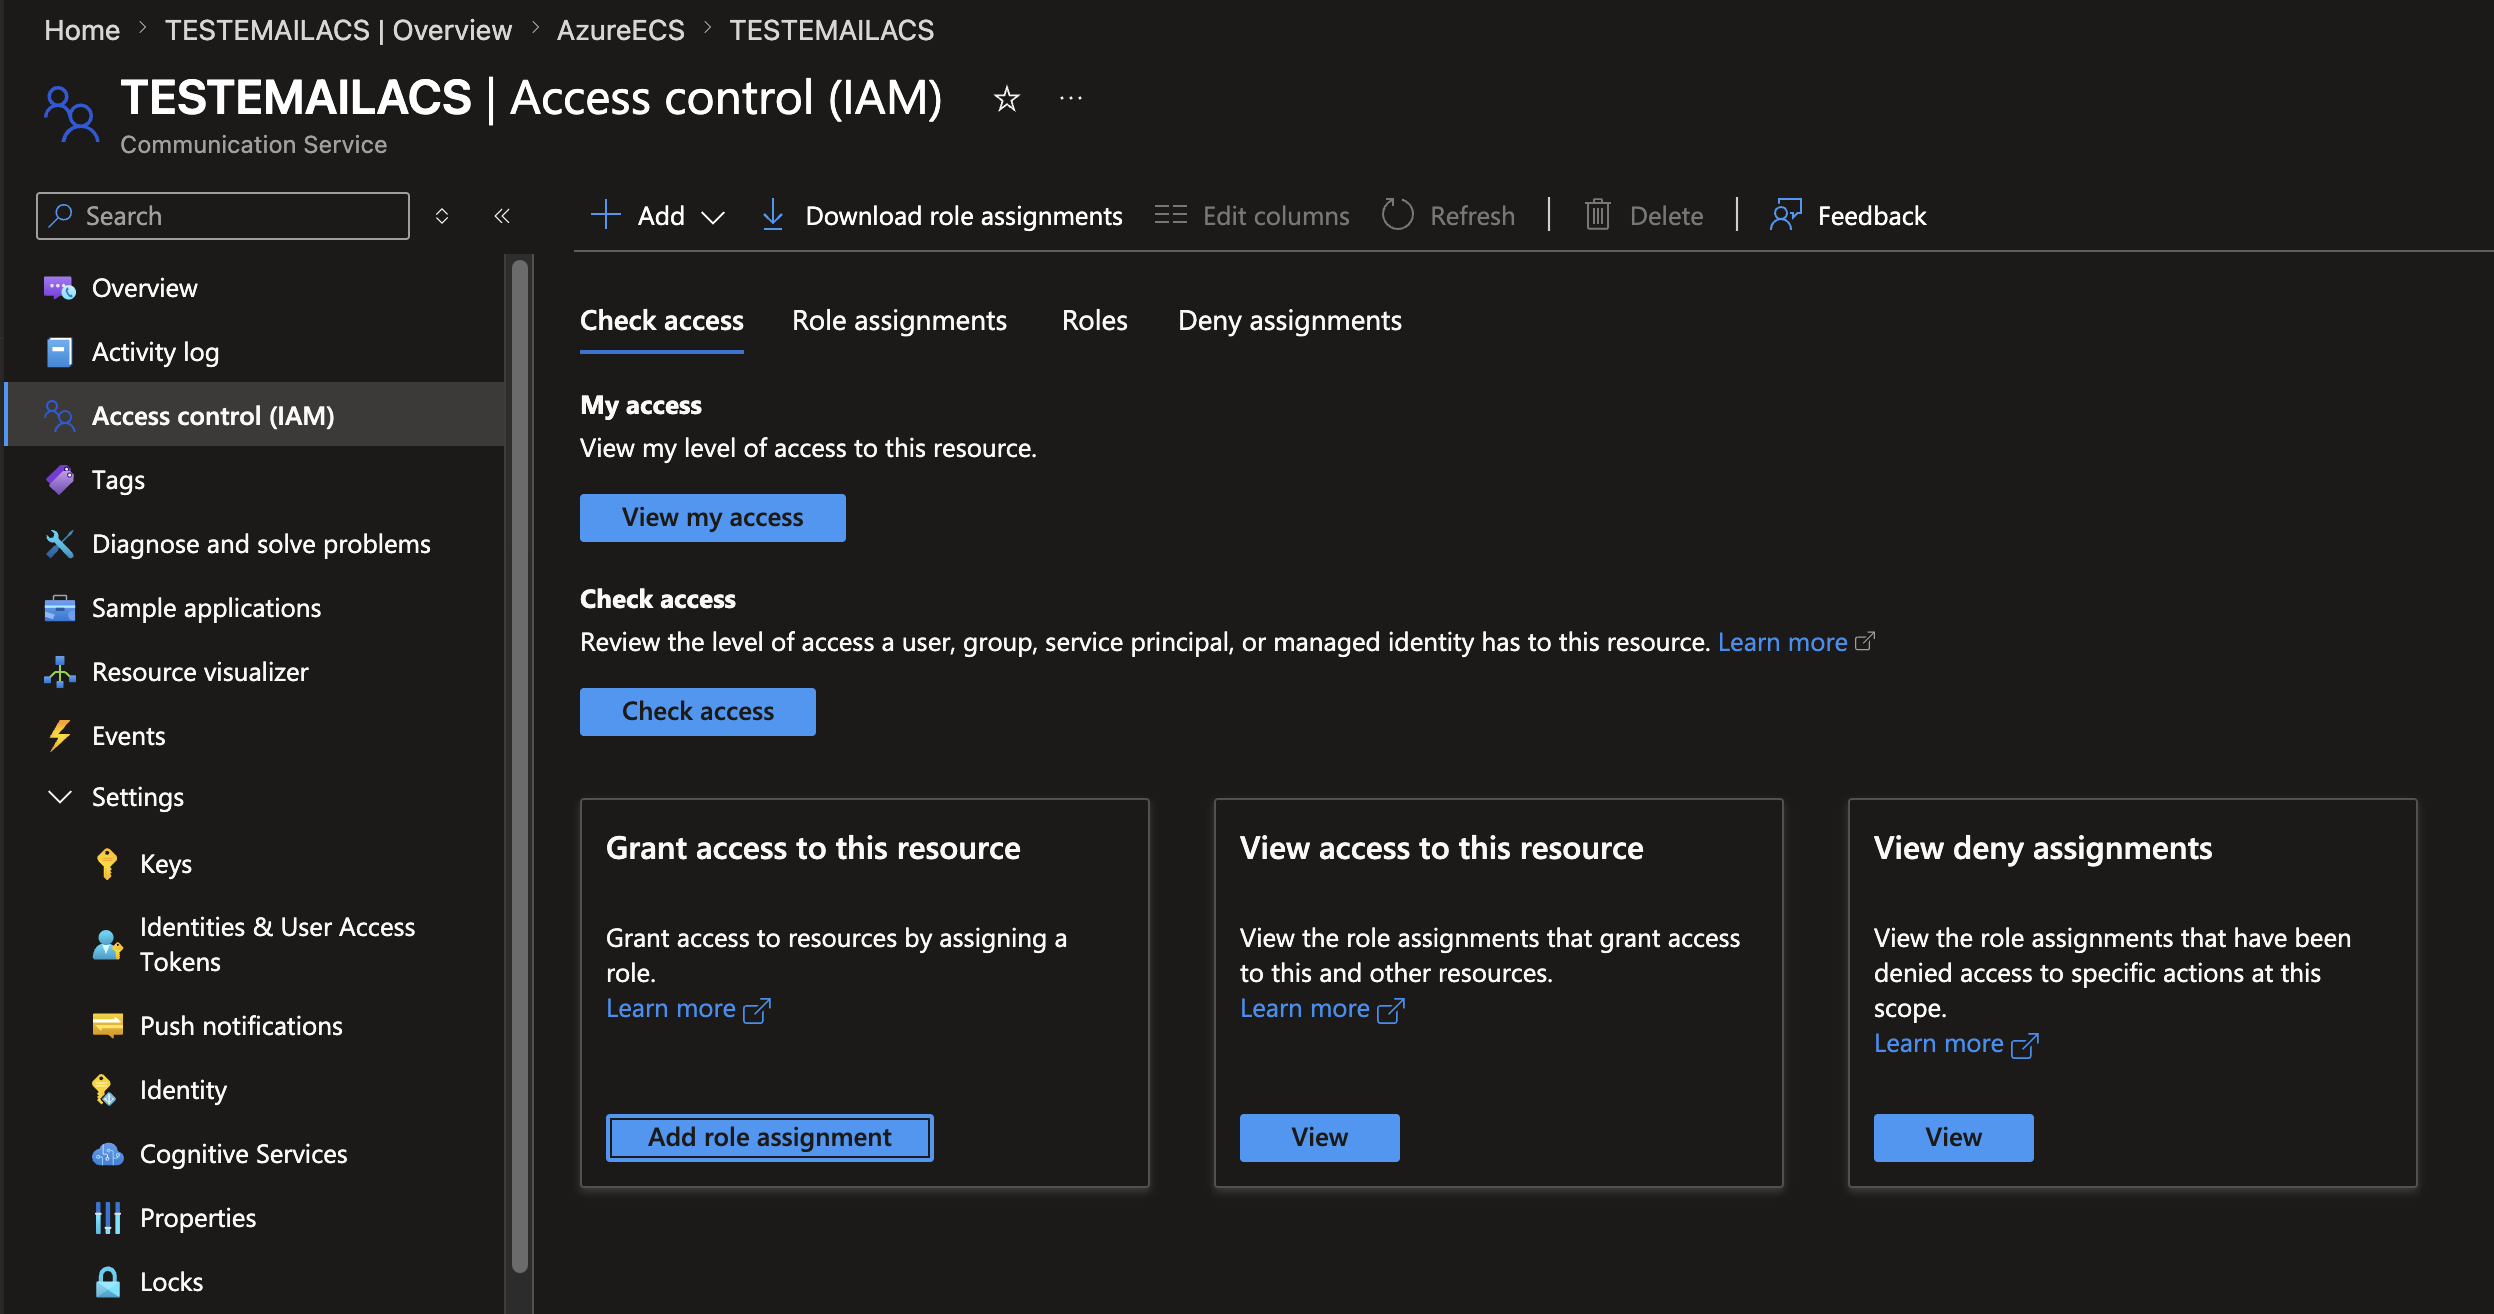

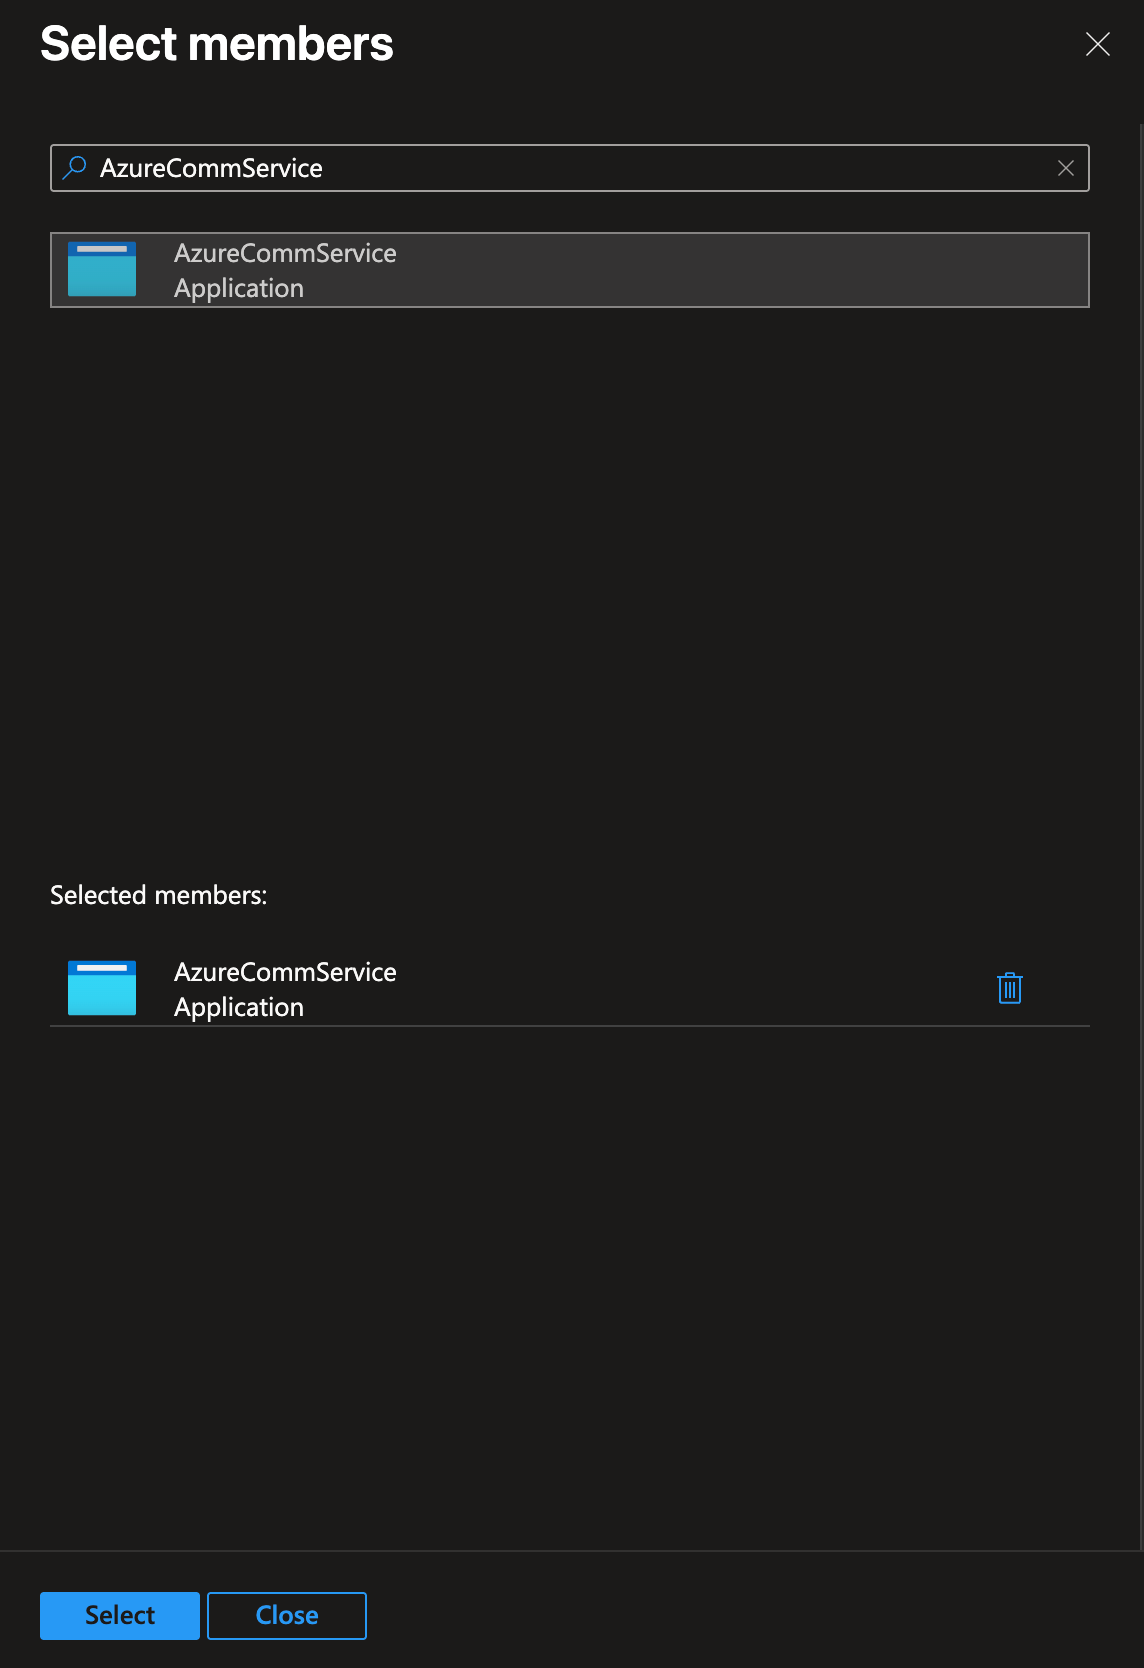
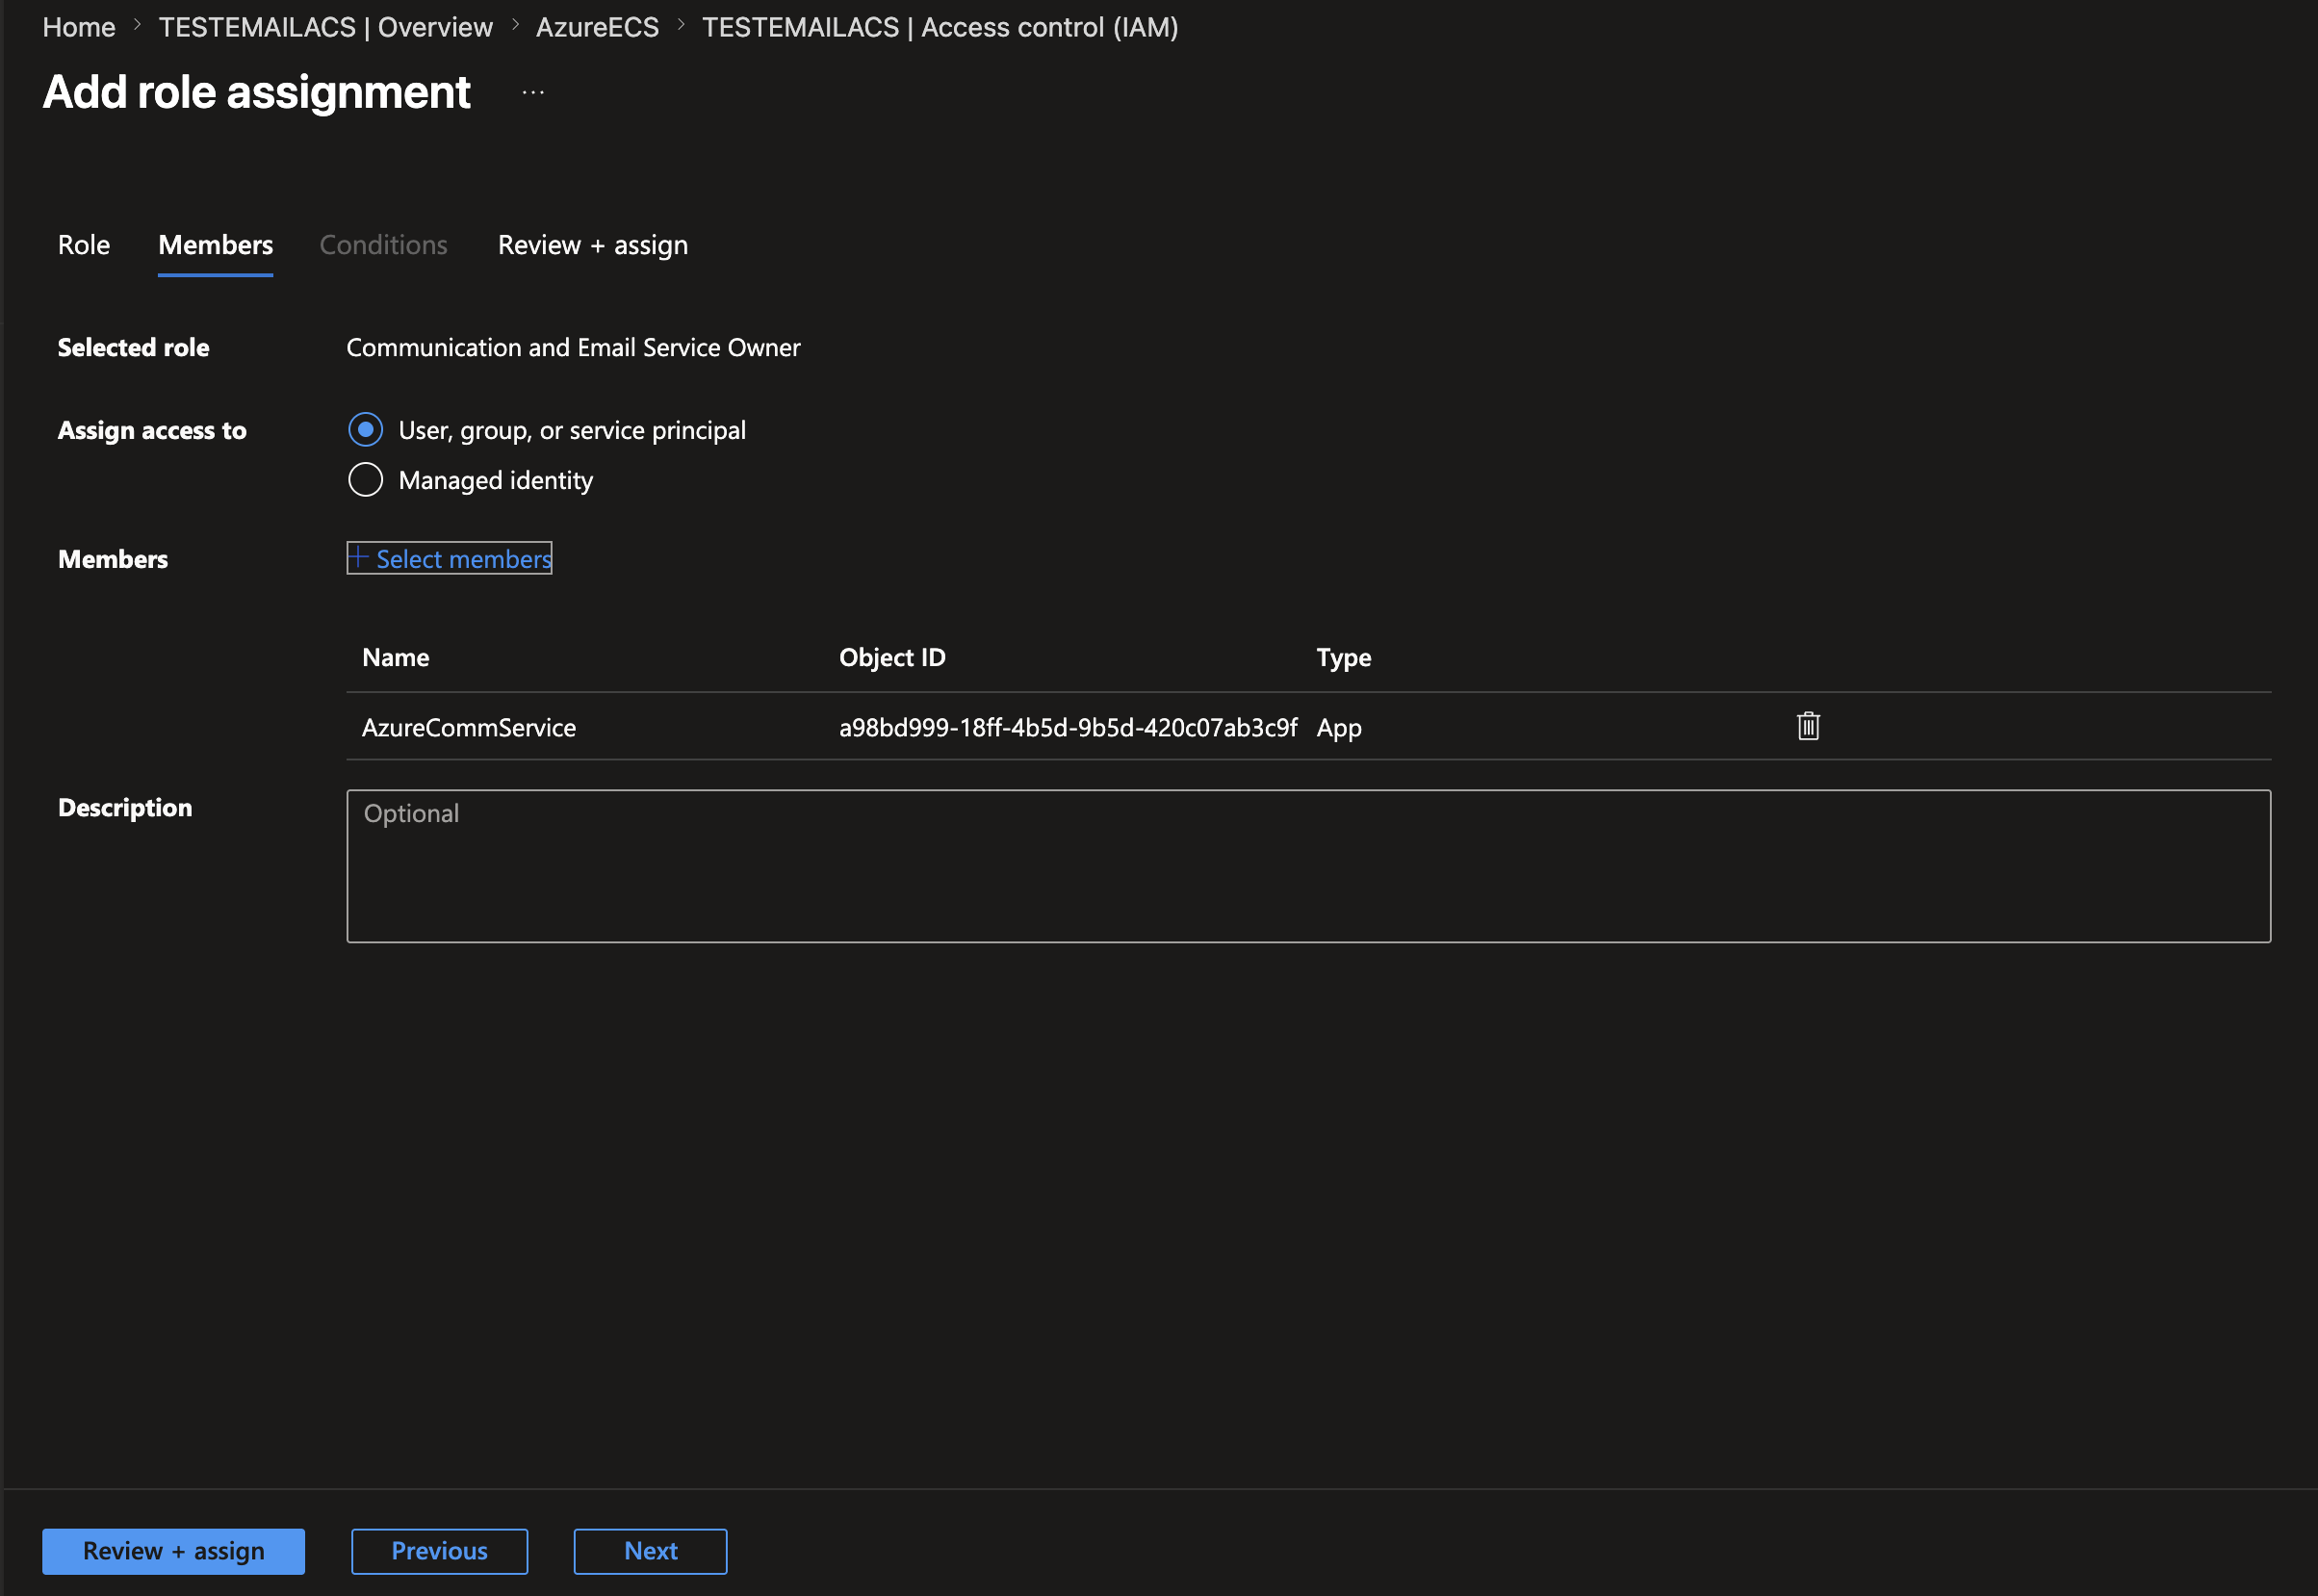
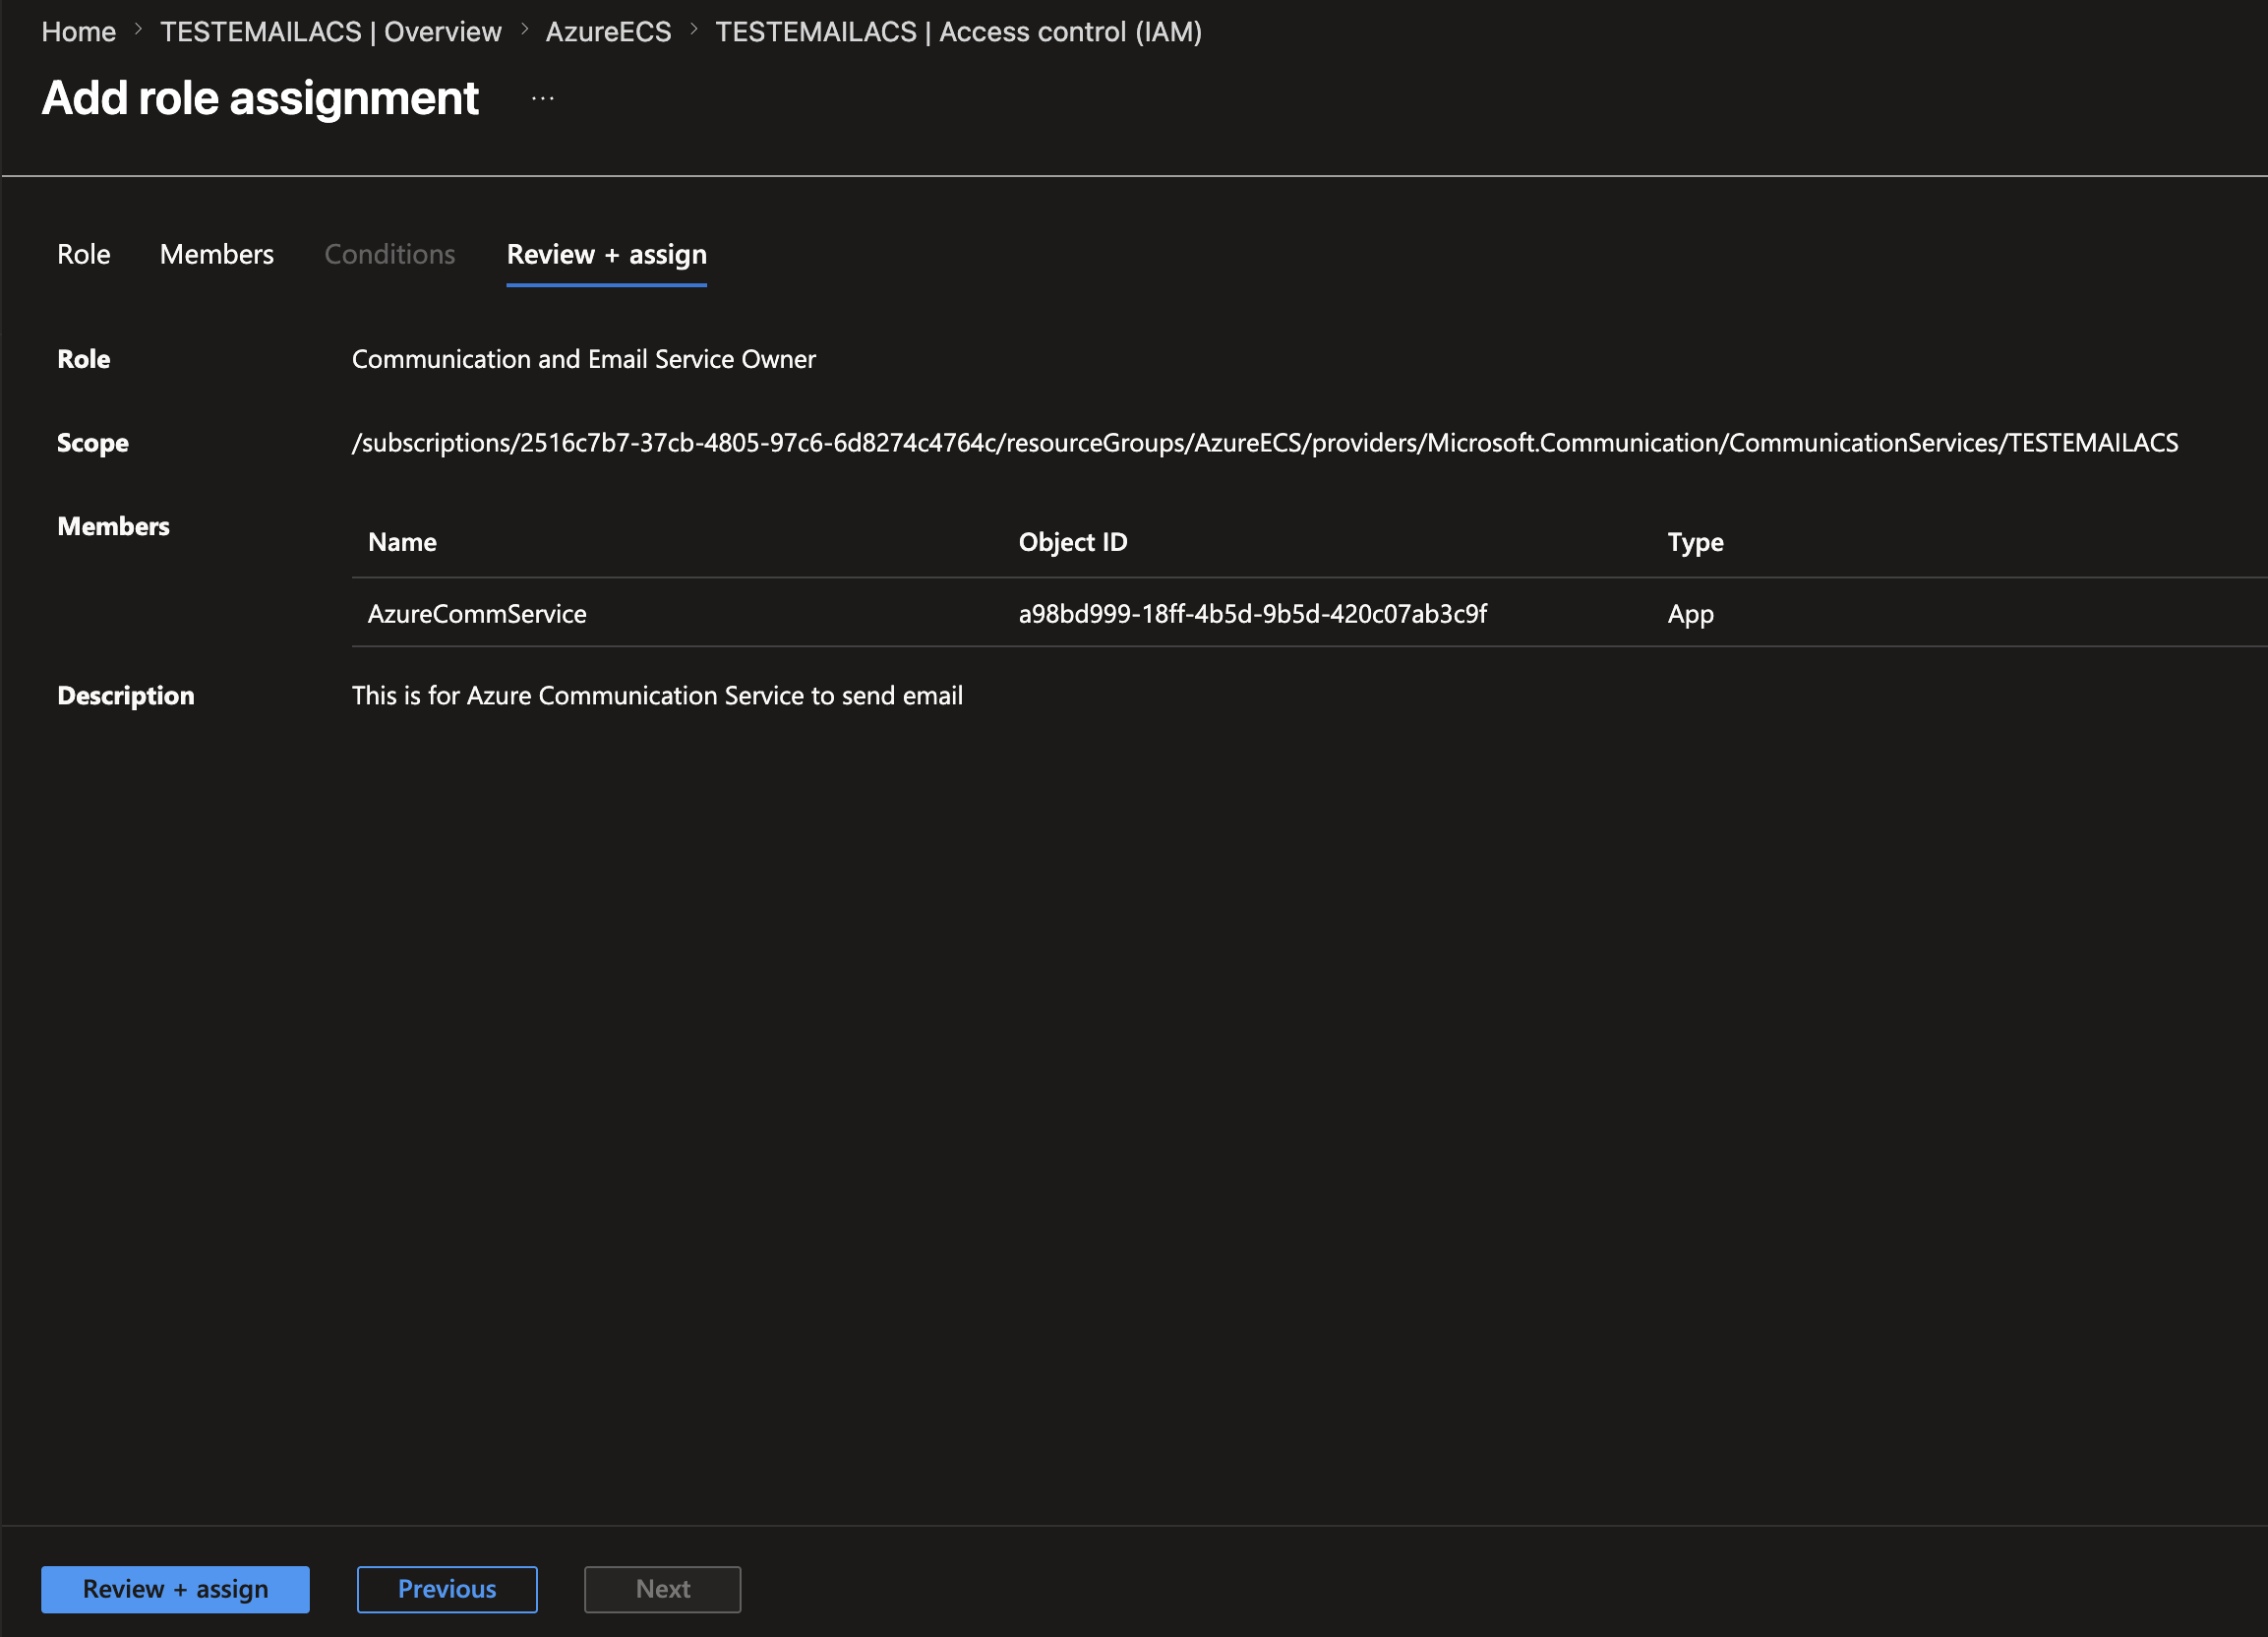
Then create a user in the Communication Service associated with the service principal of that application. This user is the login for SMTP basic authentication, and the application secret is its password.
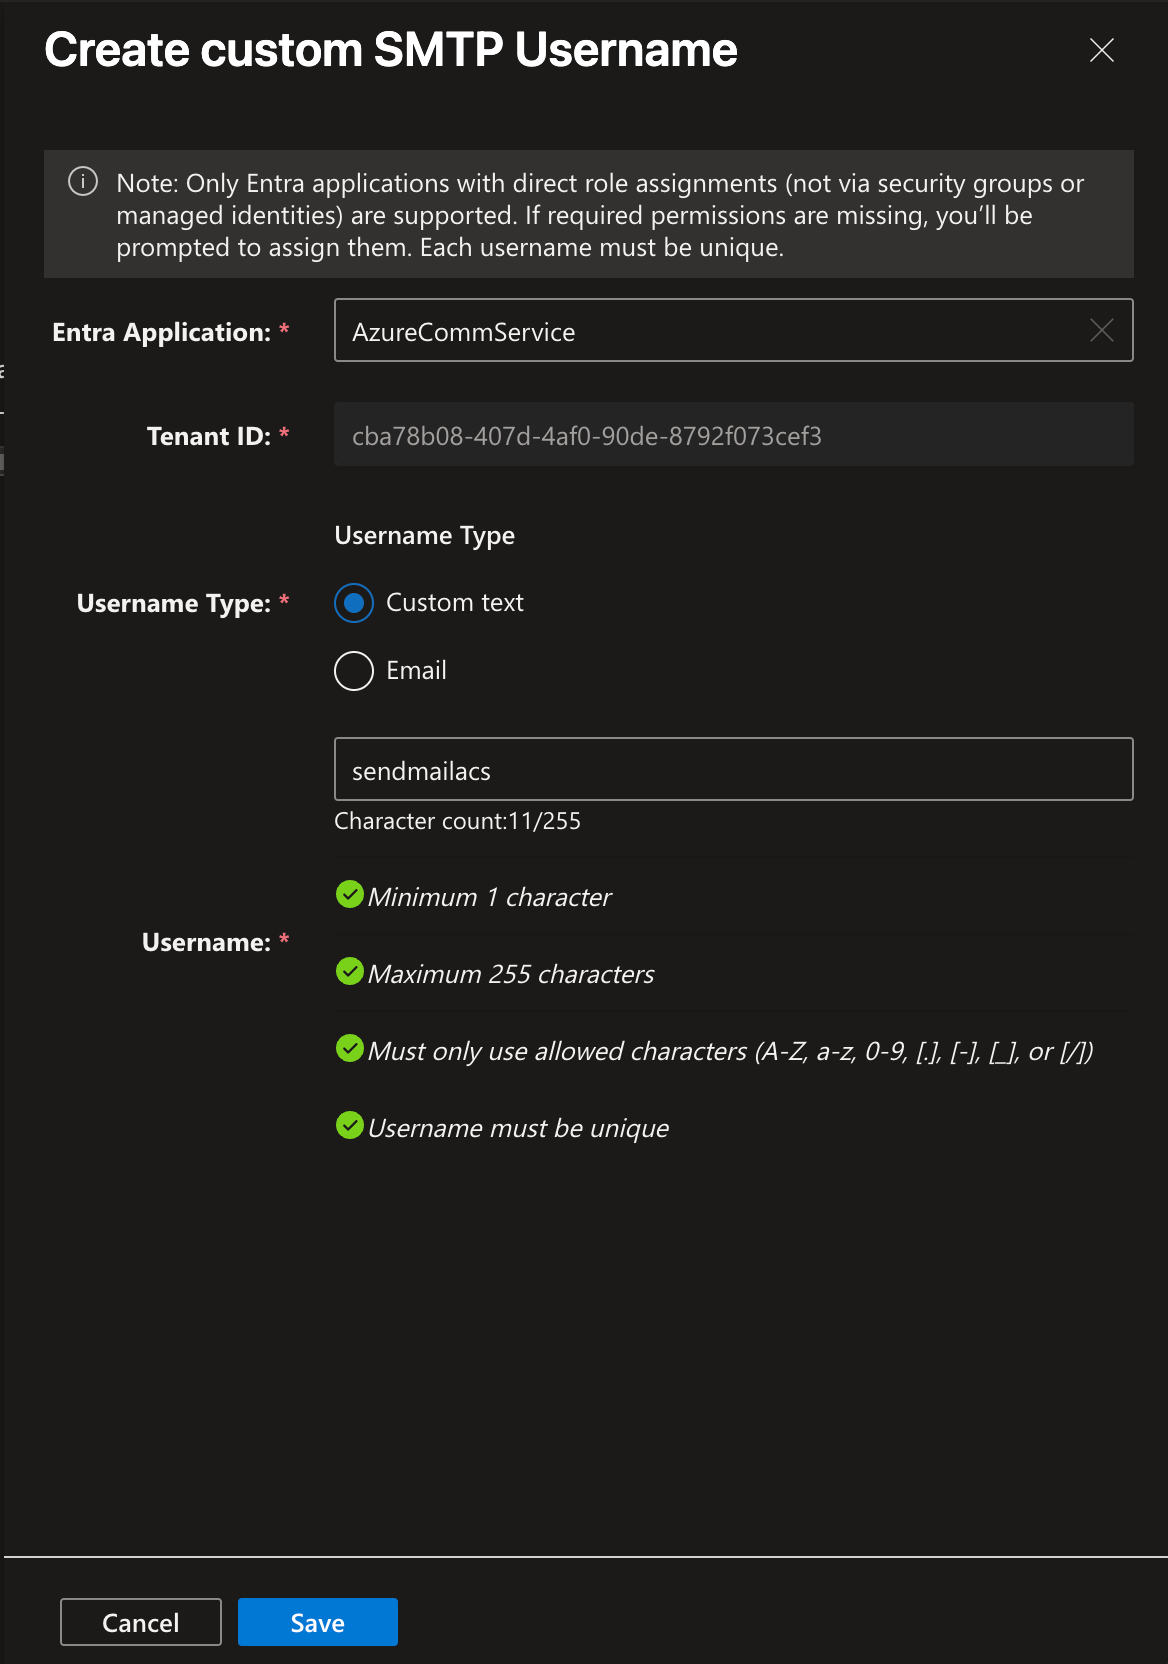
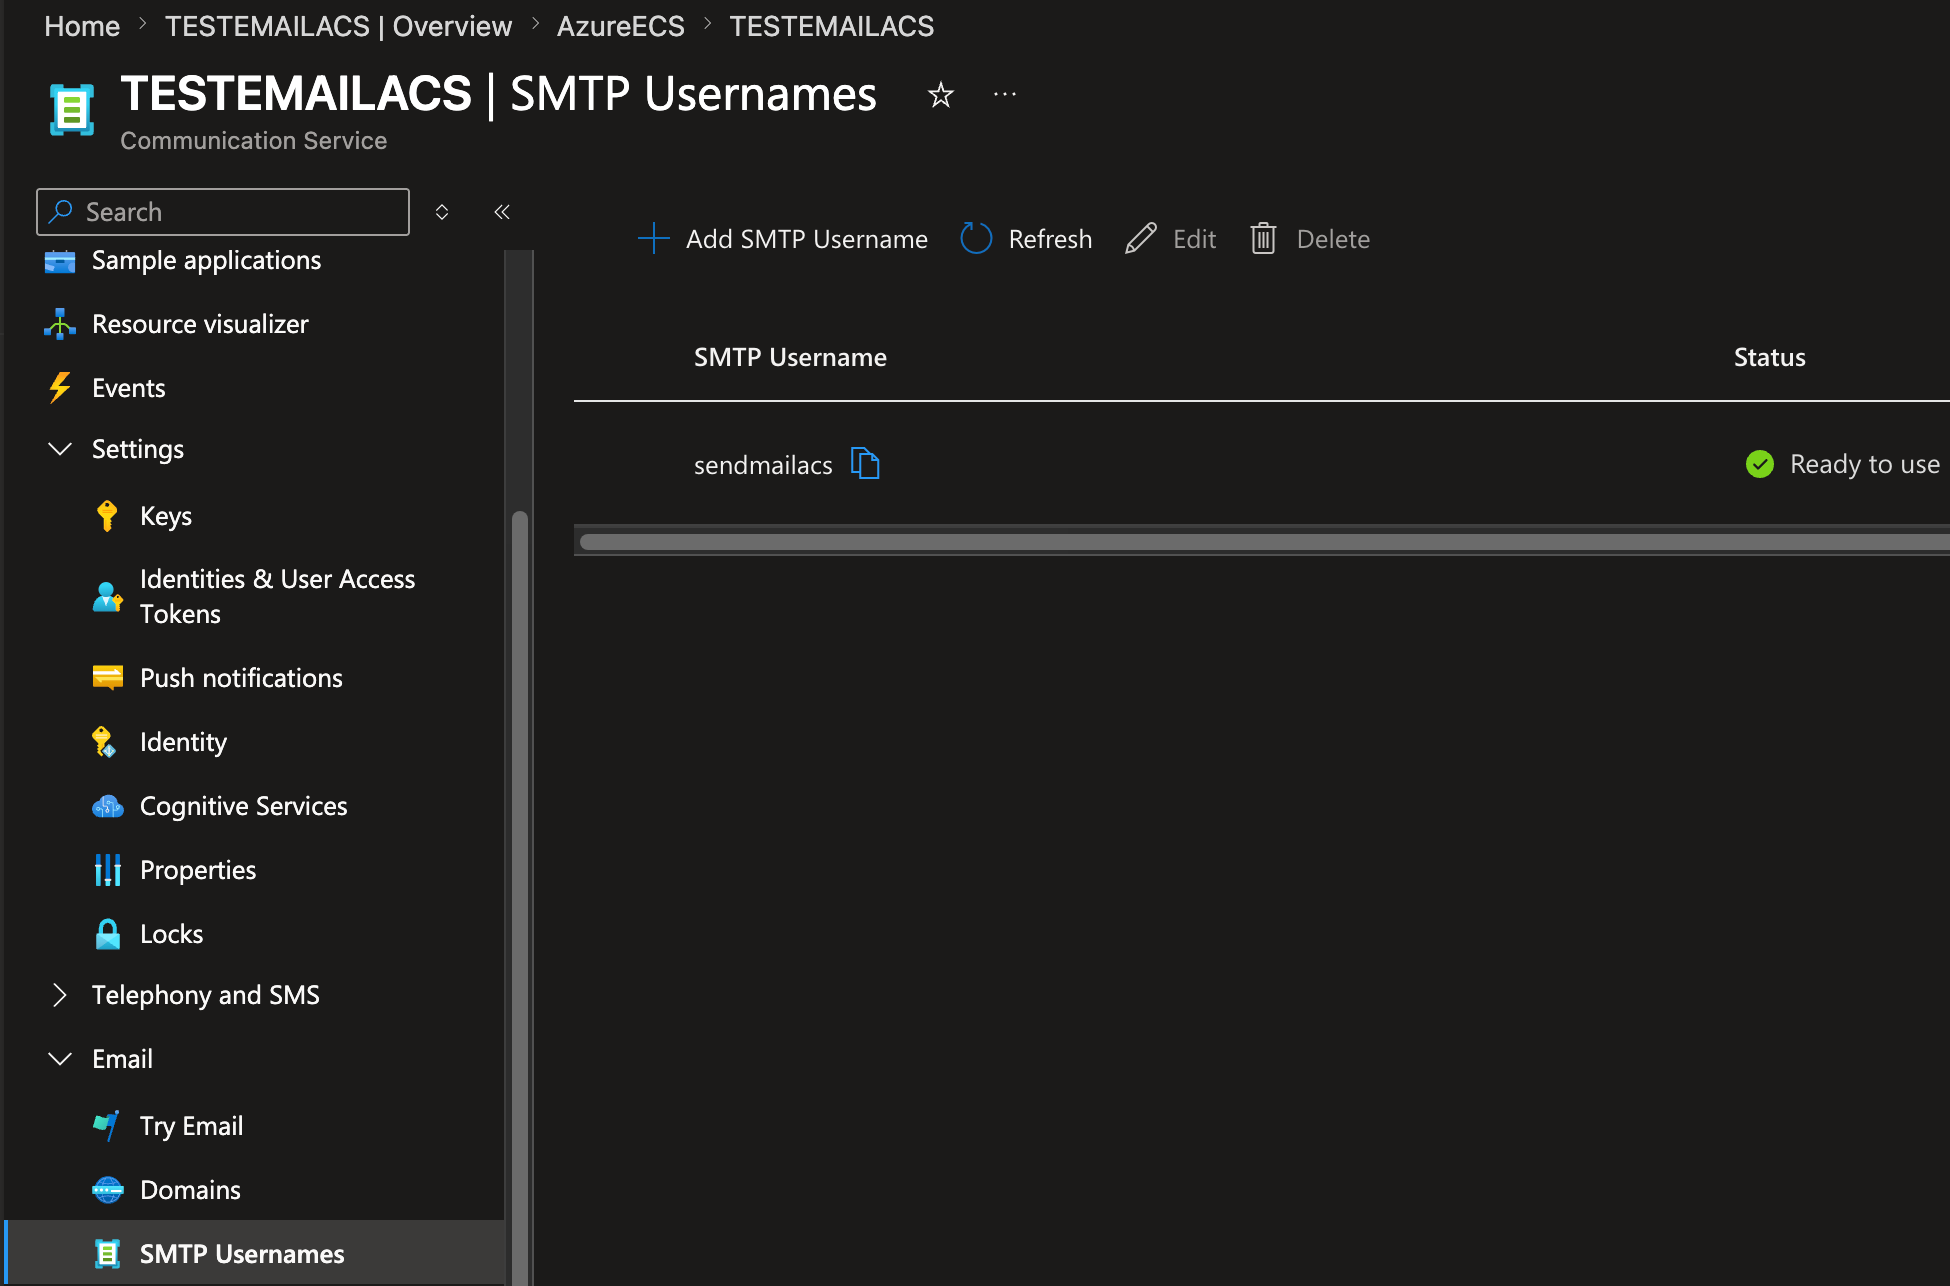
8. Send Email with Basic Authentication
Use that account (secret as password) with these settings:
Server:   smtp.azurecomm.net
Port:     587 (recommended) or 25
StartTLS: Enabled
# SMTP parameters
$smtpServer = "smtp.azurecomm.net"
$smtpPort = 587
$smtpUsername = "sendmailacs"
$smtpPassword = "<app_secret>"
# Email information
$fromEmail = "donotreply@codeaigit.com"
$toEmail = "###@domain.com"
$replyToEmail = "acs@codeaigit.com" # reply-to address
$subject = "Test Email with ACS SMTP"
$body = "This is a test email sent using ACS"
try {
# Build the message
$mail = New-Object System.Net.Mail.MailMessage
$mail.From = New-Object System.Net.Mail.MailAddress($fromEmail)
$mail.To.Add($toEmail)
$mail.ReplyToList.Add($replyToEmail)
$mail.Subject = $subject
$mail.Body = $body
# Configure the SMTP client
$smtpClient = New-Object System.Net.Mail.SmtpClient($smtpServer, $smtpPort)
$smtpClient.Credentials = New-Object System.Net.NetworkCredential($smtpUsername, $smtpPassword)
$smtpClient.EnableSsl = $true # STARTTLS
# Send
$smtpClient.Send($mail)
Write-Host "Email sent successfully."
}
catch {
Write-Host "Failed to send email: $($_.Exception.Message)"
}
finally {
if ($mail) { $mail.Dispose() }
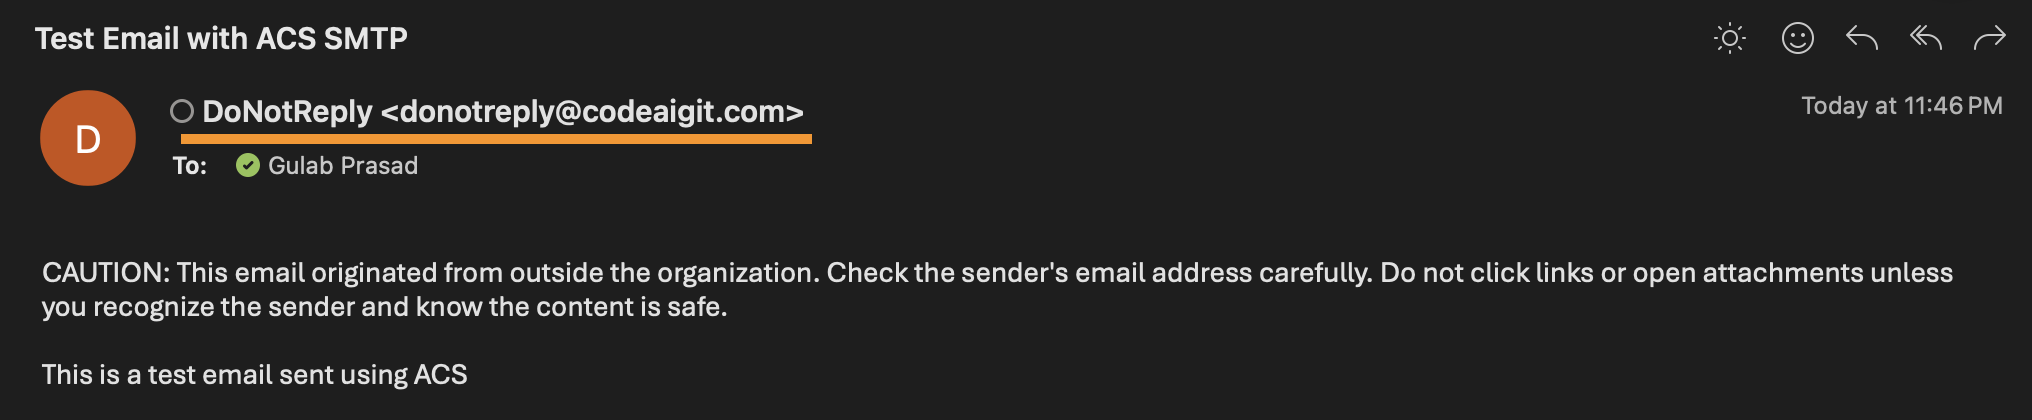
if ($smtpClient) { $smtpClient.Dispose() }Check the received message headers to confirm SPF, DKIM, and DMARC all pass.
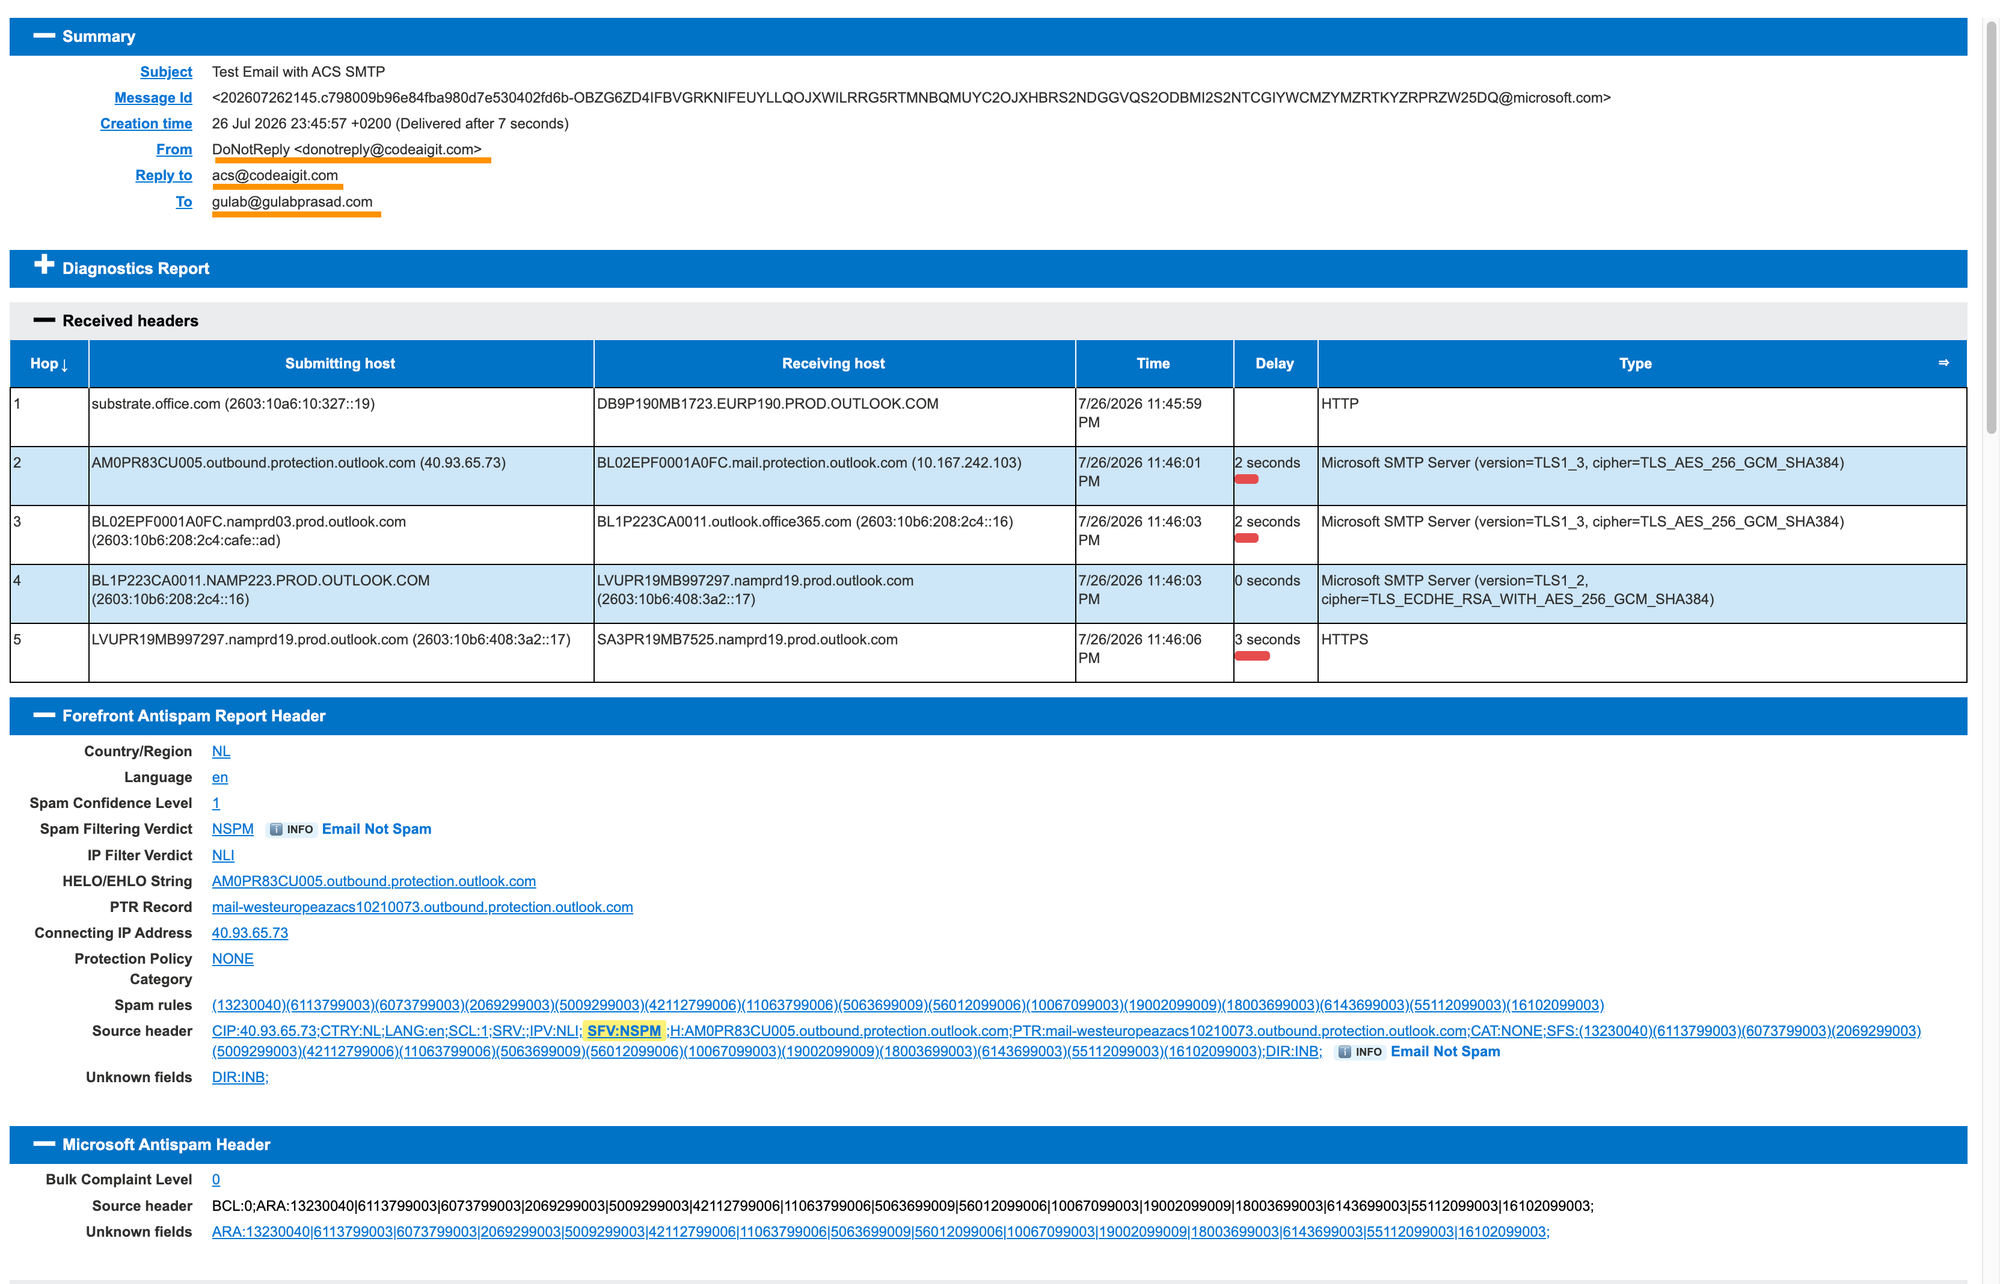
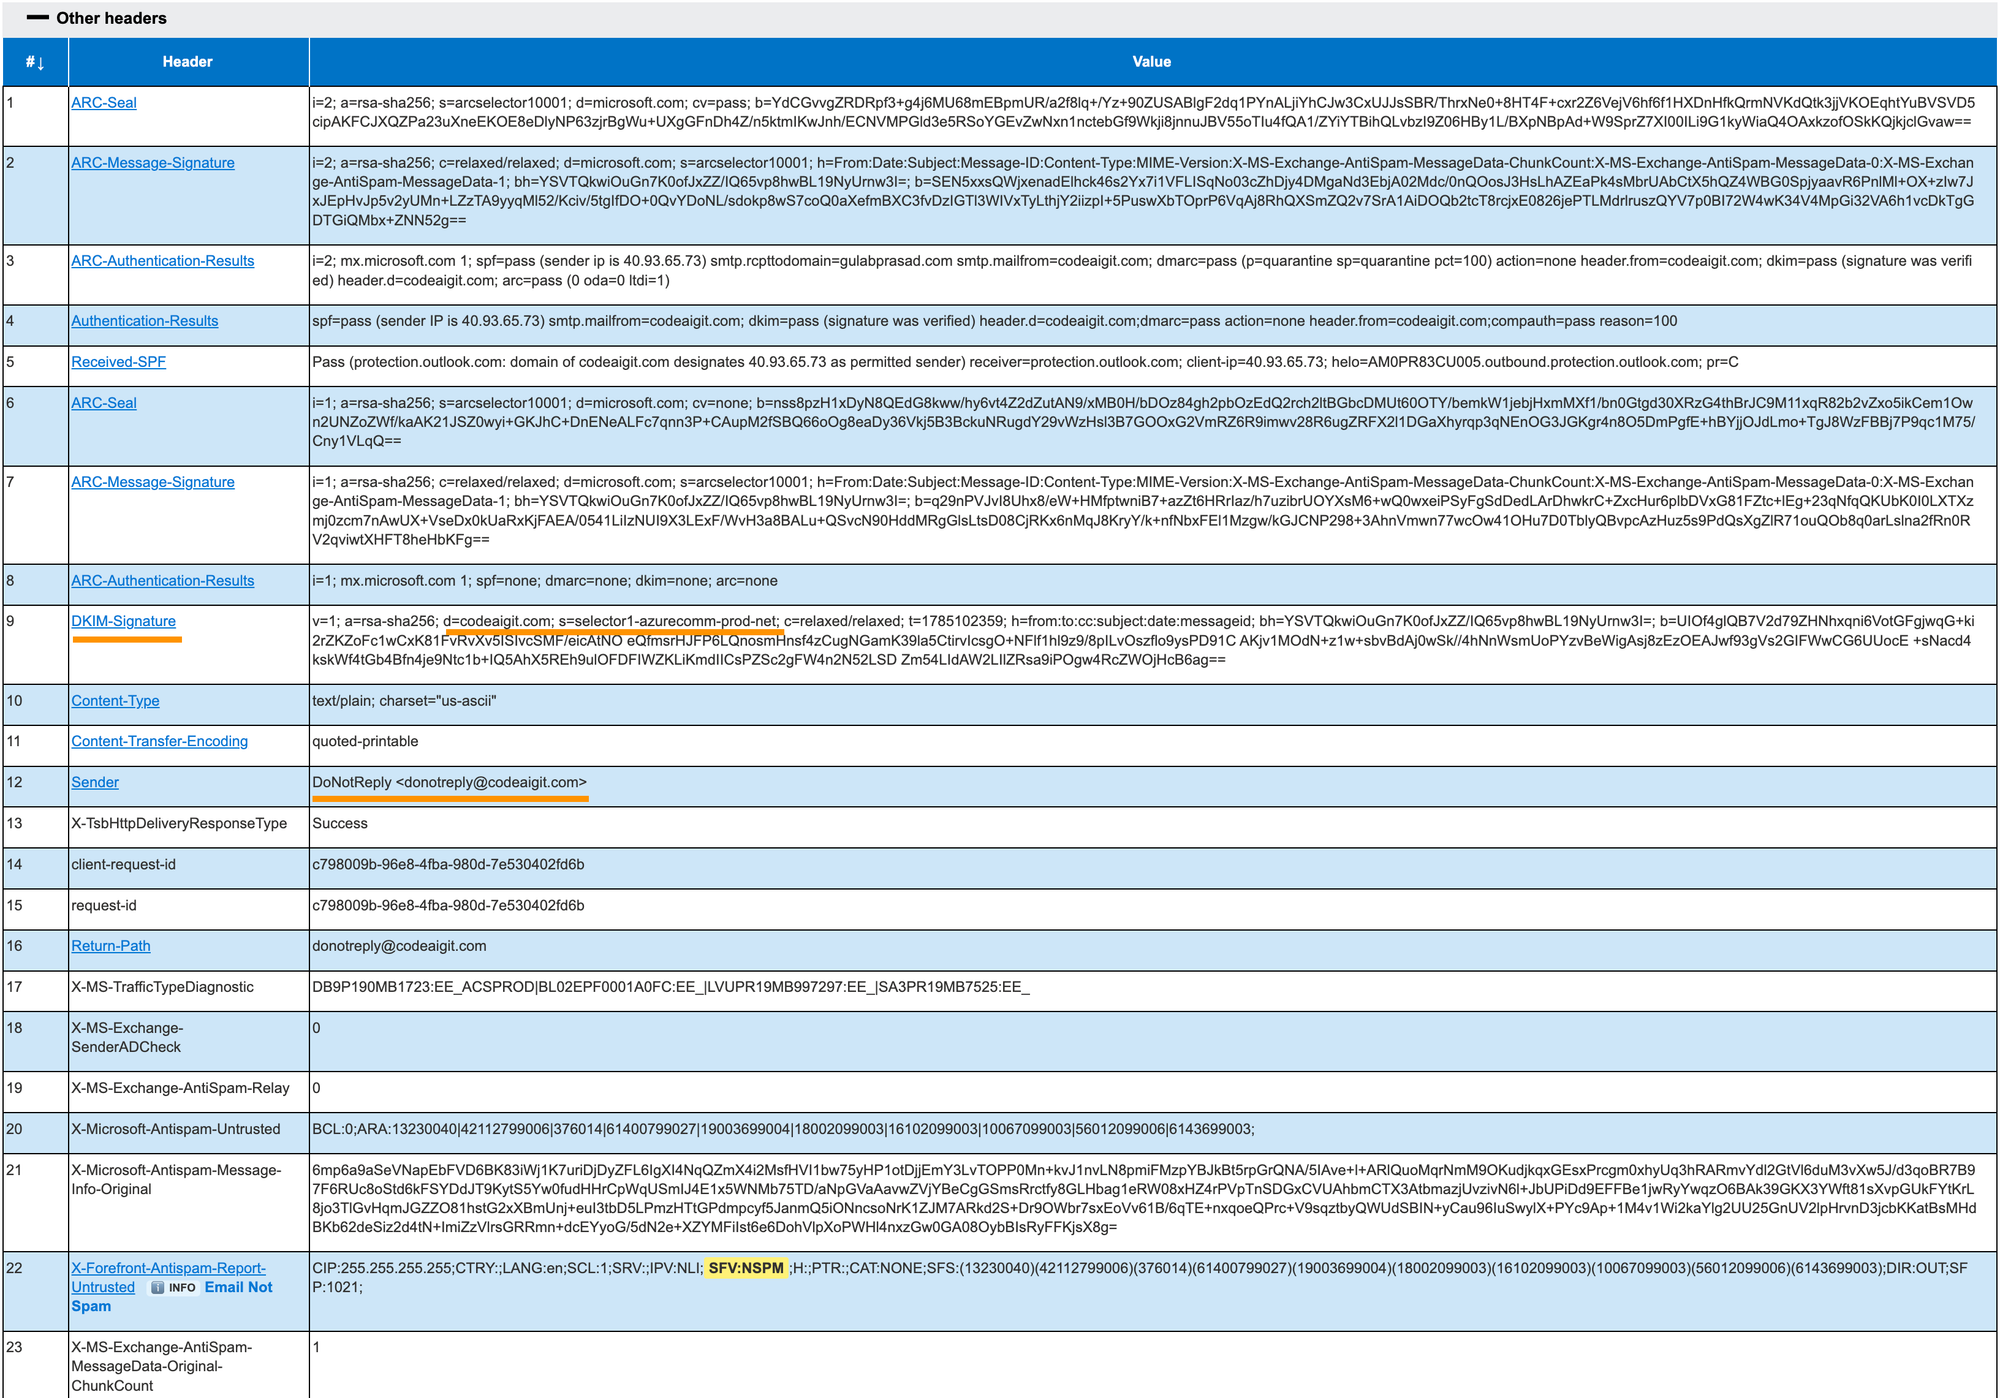
Conclusion
If you've been relying on an on-prem Exchange relay or SMTP AUTH in Microsoft 365 to send app email, that road is closing — Microsoft is phasing out Basic Auth for good. Azure Communication Services gives you somewhere to go.
The setup takes a bit of clicking, but the payoff is worth it. Your app email now runs on its own channel, completely separate from user mailboxes, so a misbehaving script can't put your real domain's reputation at risk. The domain is verified with SPF and DKIM, which means messages actually land instead of getting flagged as spam.
The nice part is you don't have to rewrite anything. Point your existing app, scanner, or script at smtp.azurecomm.net on port 587, use the app secret as the password, and it just works — the same way it always did, minus the deprecated auth.